Sunday, 27 December 2020
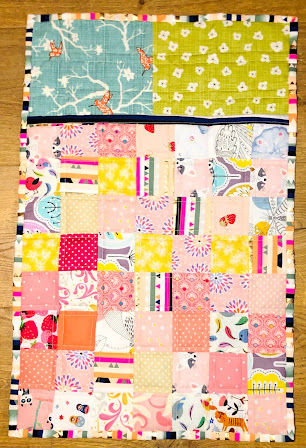
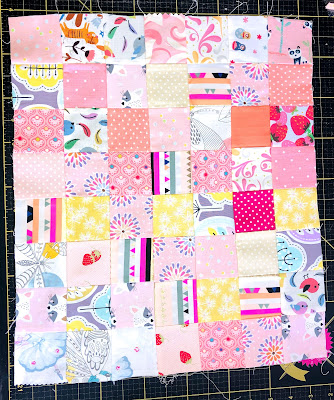
KEEPING DOLLY COZY
Wednesday, 9 December 2020
IT'S THE MOST WONDERFUL TIME OF THE YEAR!
Especially when you get Great Presents!
It's no secret I have an addiction to fabric - so this is always a sure win when buying a present for me, but as a quilter I quite often get asked what 'good presents' to buy are. So I thought I'd put together a little list of things that have caught my eye recently or that I generally can't do with out in case anyone was struggling with what to buy for the quilter/sewer/crafter in their life.
This is not sponsored or affiliated in any way, simply my opinions on things I like, thing I use regularly and things I would recommend to others.
1. Wonder Clips/Clover Clips/Quilt Clips
I'll be honest I was quite late to the party with these and had been quilting for around 6 years before I actually bought some of these to see what the fuss was about - game changer! I honestly don't know why I didn't see sense sooner, they really are a 'wonder' when binding and make the job so much easier. You can pick them up from just about anywhere.
This was one of my new purchases this year, I love it and it's permanently set up in my sewing room. They come in a variety of sizes so you can get whichever would suit your needs - my advice would be to get the biggest one you can accommodate on your work table! Far easier and much less cumbersome than having to set up the ironing board all the time. Again these can be purchased from several places, but I got mine here.
3. 1/4 Inch Quilting Foot with Guide
This is an absolute God send and one of the very first things I treated myself to when I first started patchwork and quilting 'properly' - most brands of sewing machine have them but they are brand/machine specific. You will need to know the exact sewing machine the person you're buying for has, to make sure it'll fit the machine and work properly.
4. A Block of the Month Program
There are so many out there, it can be really tough deciding which one to go for so my advice is think about what you want to gain from it - do you want to learn or try something new or do you want to expand a certain set of skills? Then have a look what is out there that'll help you achieve that goal. I've looked at so many at one point they all blurred together but for next year I've decided on The Pattern Club by Quiet Play.
5. Replacement Rotary Cutter Blades
Never underestimate the power of a new blade! They really can make all the difference when a project requires lots of cutting, or even just replacing it if you've had the same one on for a little while - you'd be surprised how quickly they can become blunt. You will need to make sure the blades you buy are the correct size for the Rotary Cutter you've got/the person you're buying for has but you will find that they are widely available from a variety of places.
6. Seam Ripper and Stiletto Combo
The discovery of this is one of my favourite things to come out of 2020, I was able to shop small and support a local craftsman by purchasing this fantastic little device - they come in all manner of colours and designs all hand crafted and just beautiful! One side is a seam ripper, the other is a stiletto perfect for feeding tricking points and sample pieces through the sewing machine, both tuck neatly away to avoid any stabbing of fingers when not in use. Pencole Pens and Turnings is the place to go for one of these beauties.
7. Fabric Gift Vouchers
As I said I'm a fabric addict - you can never have enough and buying it is a totally separate hobby to actually using it! Pretty much everywhere does vouchers of some kind but some of may favourite smaller places to support are the following because I've always had excellent above and beyond customer service, super fast shipping and just general loveliness!


