
Treasure Hunt
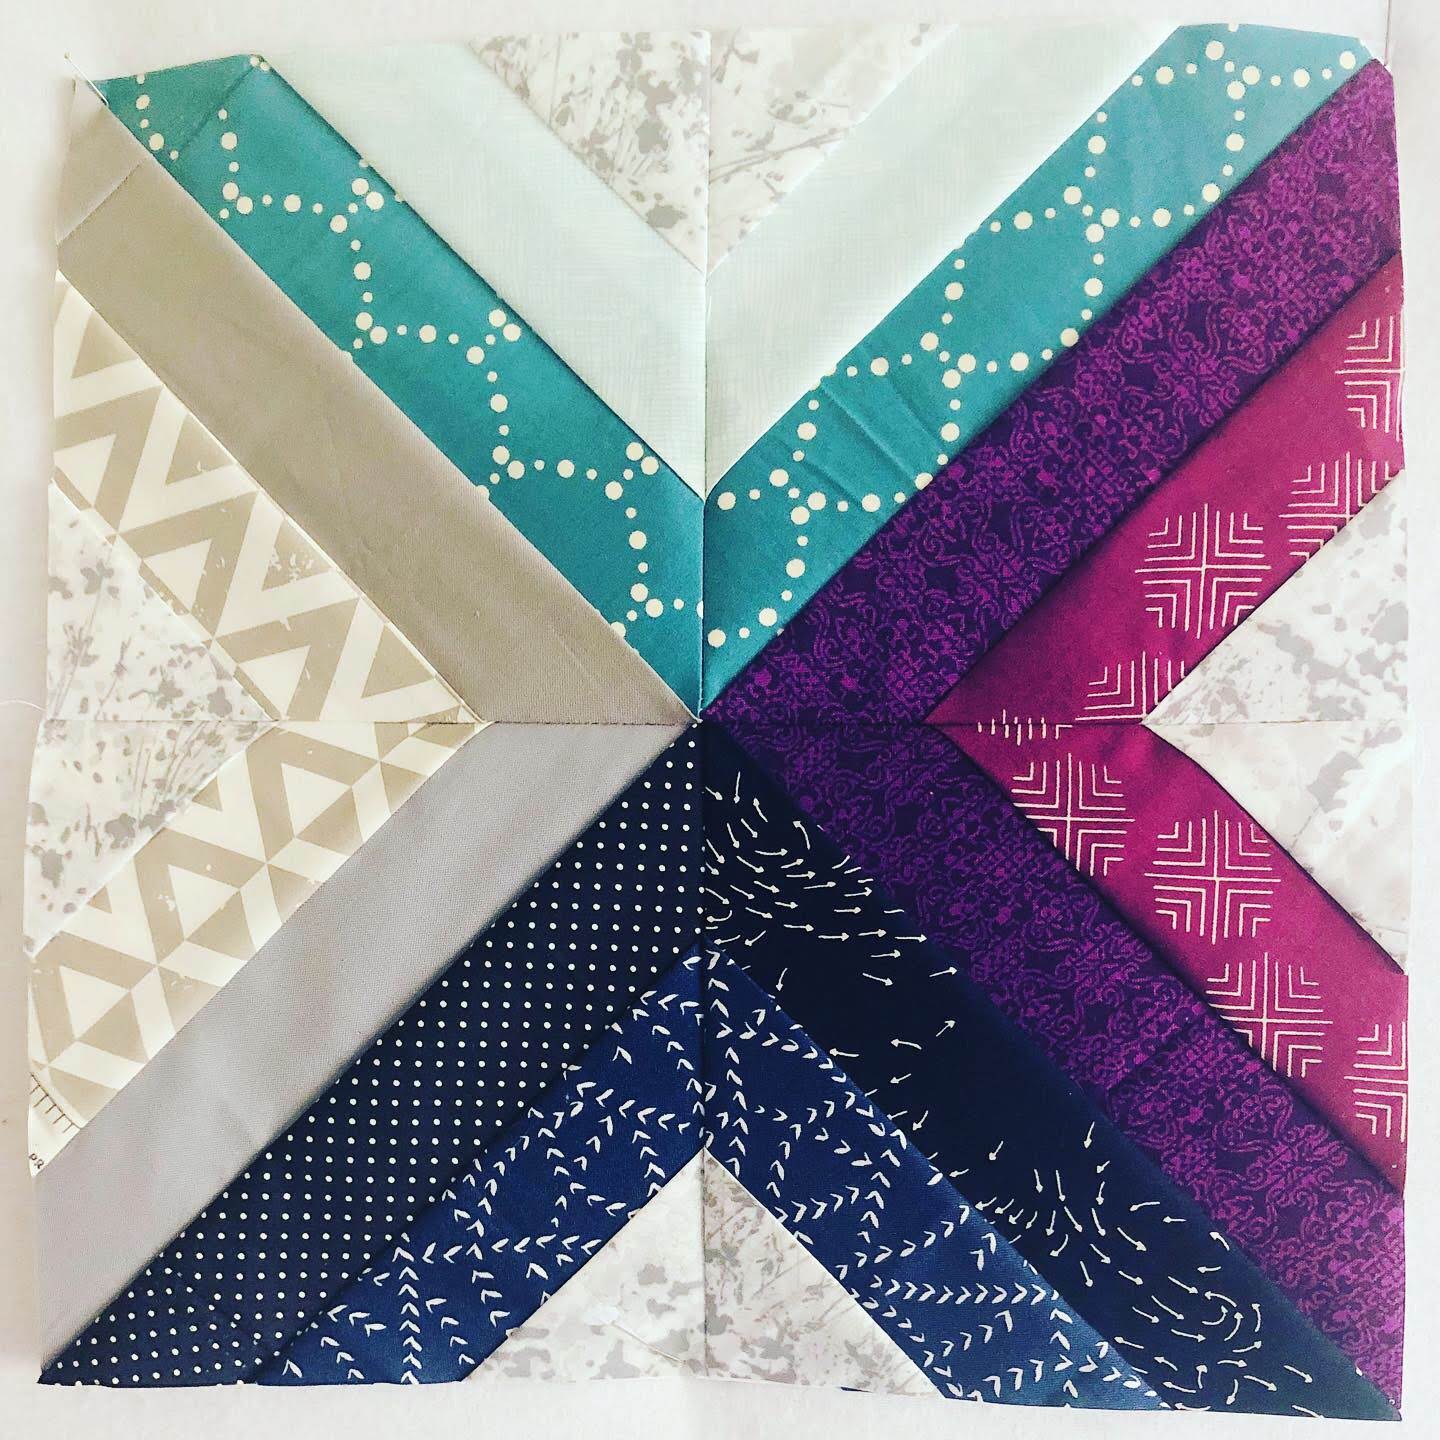
Treasure Hunt Block Tutorial
12.5" finished block
This block is part of the great series by Blossom Hearts Quilts called The Bee Hive there are 12 blocks in the series, all completely free. The template for this block can be found here.
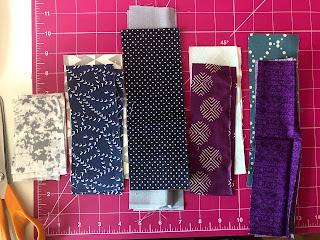
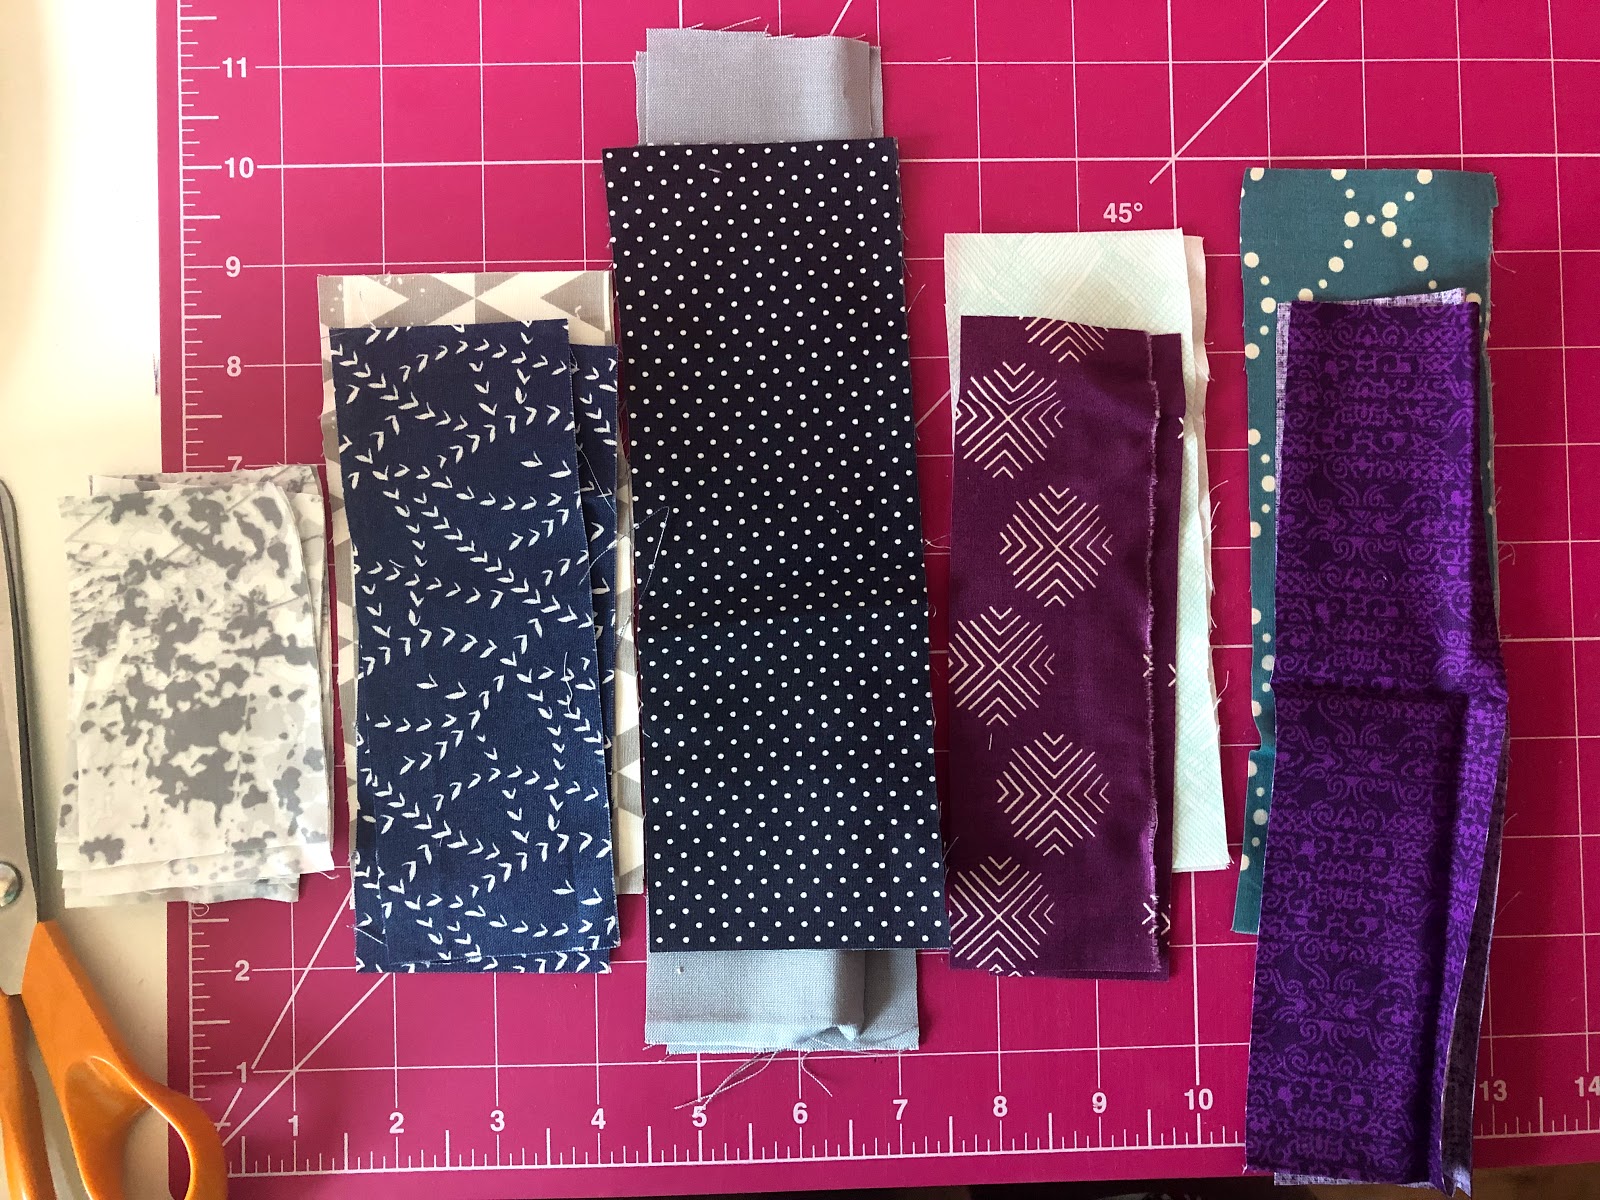
Cutting:
A1 and A4 2 1/4" x 9 1/2"
A2 and A5 2 1/4" x 7"
A3 and A6 2 1/4" x 4"
4 of each is needed to make one complete 12.5" block.
Assembly:
This block is put together in 4 units very simply by foundation paper piecing.
I found it easier to write on each section the colour/fabric I wanted to use there, as all quadrants were a different colour. This was so I could get the effect I wanted for my X to repeat making a secondary square design across the intended quilt.

The assembly process is the same for all 4 units.
Unit 1
1. Place one A1 rectangle right side up on the back of the paper template (you will be sewing along the printed lines so need to see these at all times), place one A2 rectangle on top of it so that the right sides, or patterned/coloured sides are facing each other.

2. Turn the template over so the guidelines are now facing you and sew down the line joining A1 to A2.

3. Carry on in this way until all strips have been sewn together.

You will then have a unit that looks like this.

4. Repeat for the remaining 3 units and then trim down any excess so that all units measure 6.5" square.

Putting The Block Together:
1. Place the units into pairs and attached together, then sew the two rows together to form one finished block. Simply remove the paper on completion of sewing.

Finished block will measure 12.5" square which includes a 1/4" seam on each side.
Cutting:
A1 and A4 2 1/4" x 9 1/2"
A2 and A5 2 1/4" x 7"
A3 and A6 2 1/4" x 4"
4 of each is needed to make one complete 12.5" block.
A2 and A5 2 1/4" x 7"
A3 and A6 2 1/4" x 4"
4 of each is needed to make one complete 12.5" block.
Assembly:
This block is put together in 4 units very simply by foundation paper piecing.
I found it easier to write on each section the colour/fabric I wanted to use there, as all quadrants were a different colour. This was so I could get the effect I wanted for my X to repeat making a secondary square design across the intended quilt.
The assembly process is the same for all 4 units.
I found it easier to write on each section the colour/fabric I wanted to use there, as all quadrants were a different colour. This was so I could get the effect I wanted for my X to repeat making a secondary square design across the intended quilt.

The assembly process is the same for all 4 units.
Unit 1
1. Place one A1 rectangle right side up on the back of the paper template (you will be sewing along the printed lines so need to see these at all times), place one A2 rectangle on top of it so that the right sides, or patterned/coloured sides are facing each other.
2. Turn the template over so the guidelines are now facing you and sew down the line joining A1 to A2.
3. Carry on in this way until all strips have been sewn together.
You will then have a unit that looks like this.
4. Repeat for the remaining 3 units and then trim down any excess so that all units measure 6.5" square.
Putting The Block Together:
1. Place the units into pairs and attached together, then sew the two rows together to form one finished block. Simply remove the paper on completion of sewing.
Finished block will measure 12.5" square which includes a 1/4" seam on each side.

2. Turn the template over so the guidelines are now facing you and sew down the line joining A1 to A2.

3. Carry on in this way until all strips have been sewn together.

You will then have a unit that looks like this.

4. Repeat for the remaining 3 units and then trim down any excess so that all units measure 6.5" square.

Putting The Block Together:
1. Place the units into pairs and attached together, then sew the two rows together to form one finished block. Simply remove the paper on completion of sewing.

Finished block will measure 12.5" square which includes a 1/4" seam on each side.


