Showing posts with label Chain Piecing. Show all posts

Tuesday, 21 July 2020

DISAPPEARING ACT


Disappearing Nine Patch 


Disappearing Nine Patch Tutorial


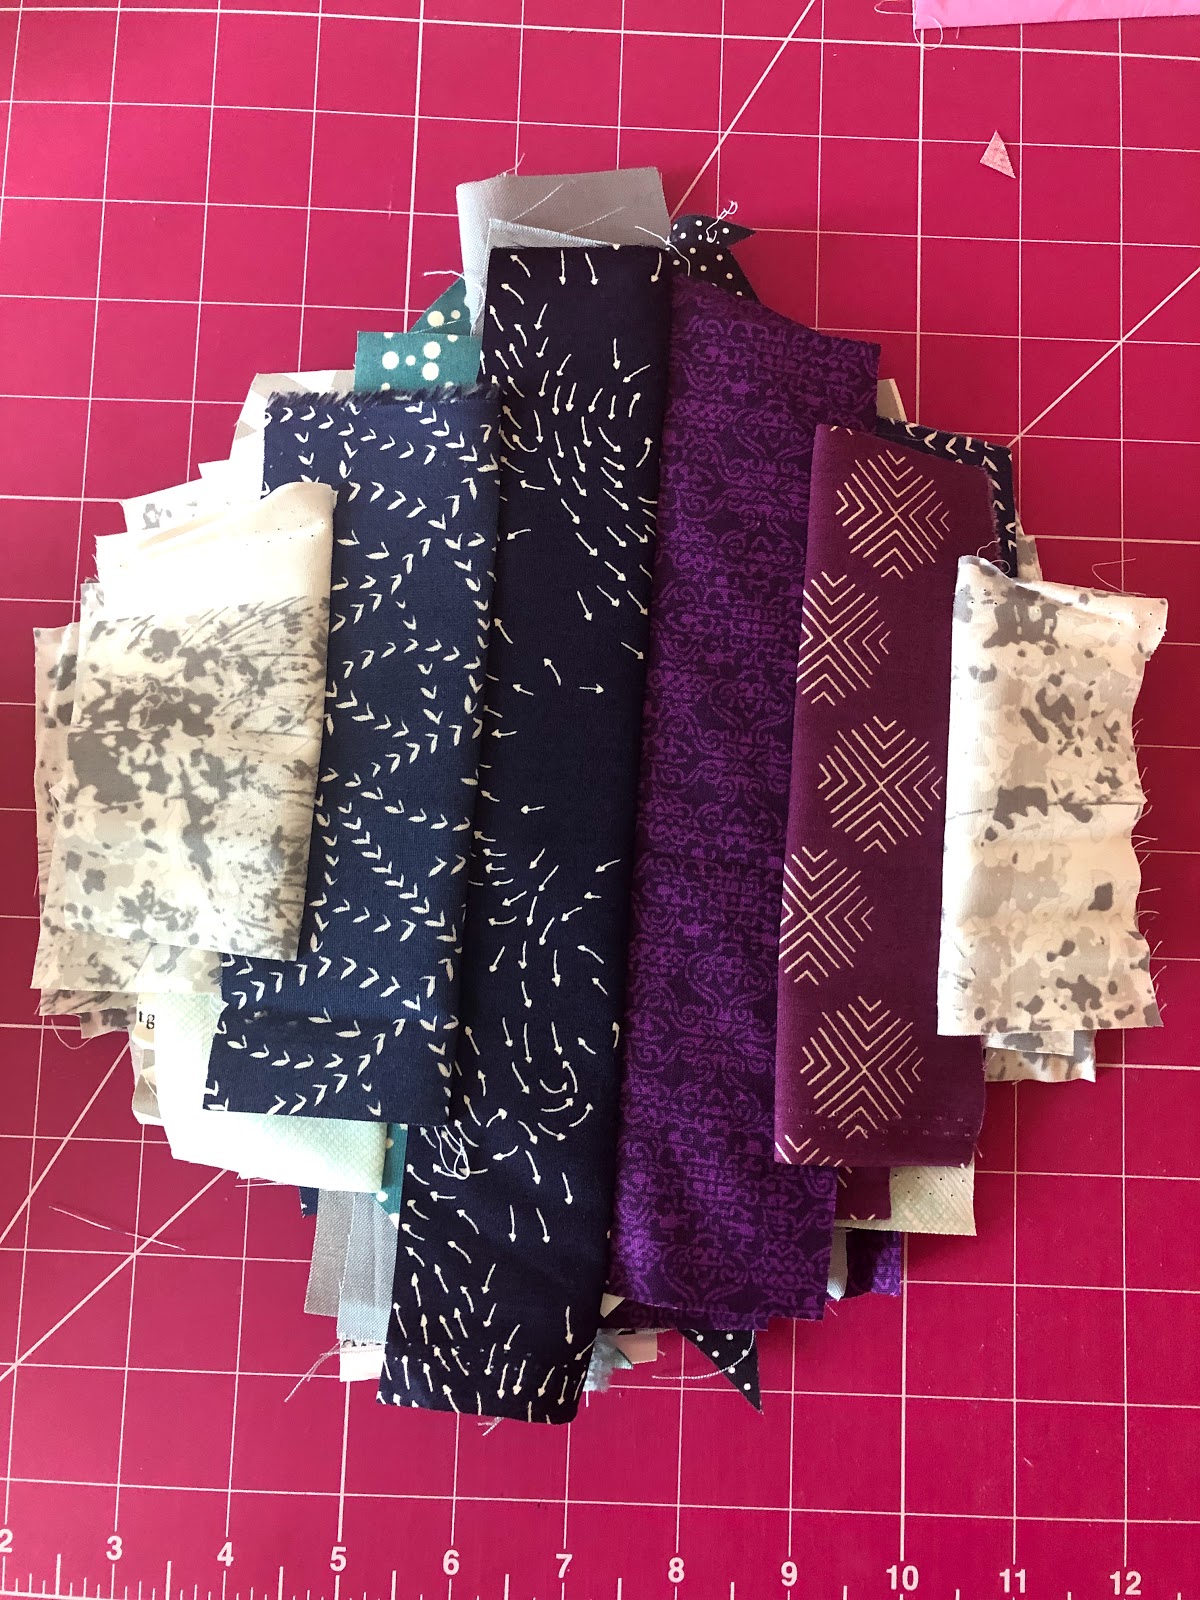
These blocks work really well if there is a contrast in the colours and fabrics you choose, ideally you want to have light, medium and dark fabrics. It's ok if you don't though as it's perfect for scrap busting.


Cutting:


Square size can vary depending on the size of block and/or finished quilt you want - as long as all squares are the same size it doesn't matter. For the purpose of this tutorial, I used a couple of charm packs so my squares are 5 inches.

Cut 9 squares, each 5" x 5"

  • (1) dark
  • (4) medium
  • (4) light


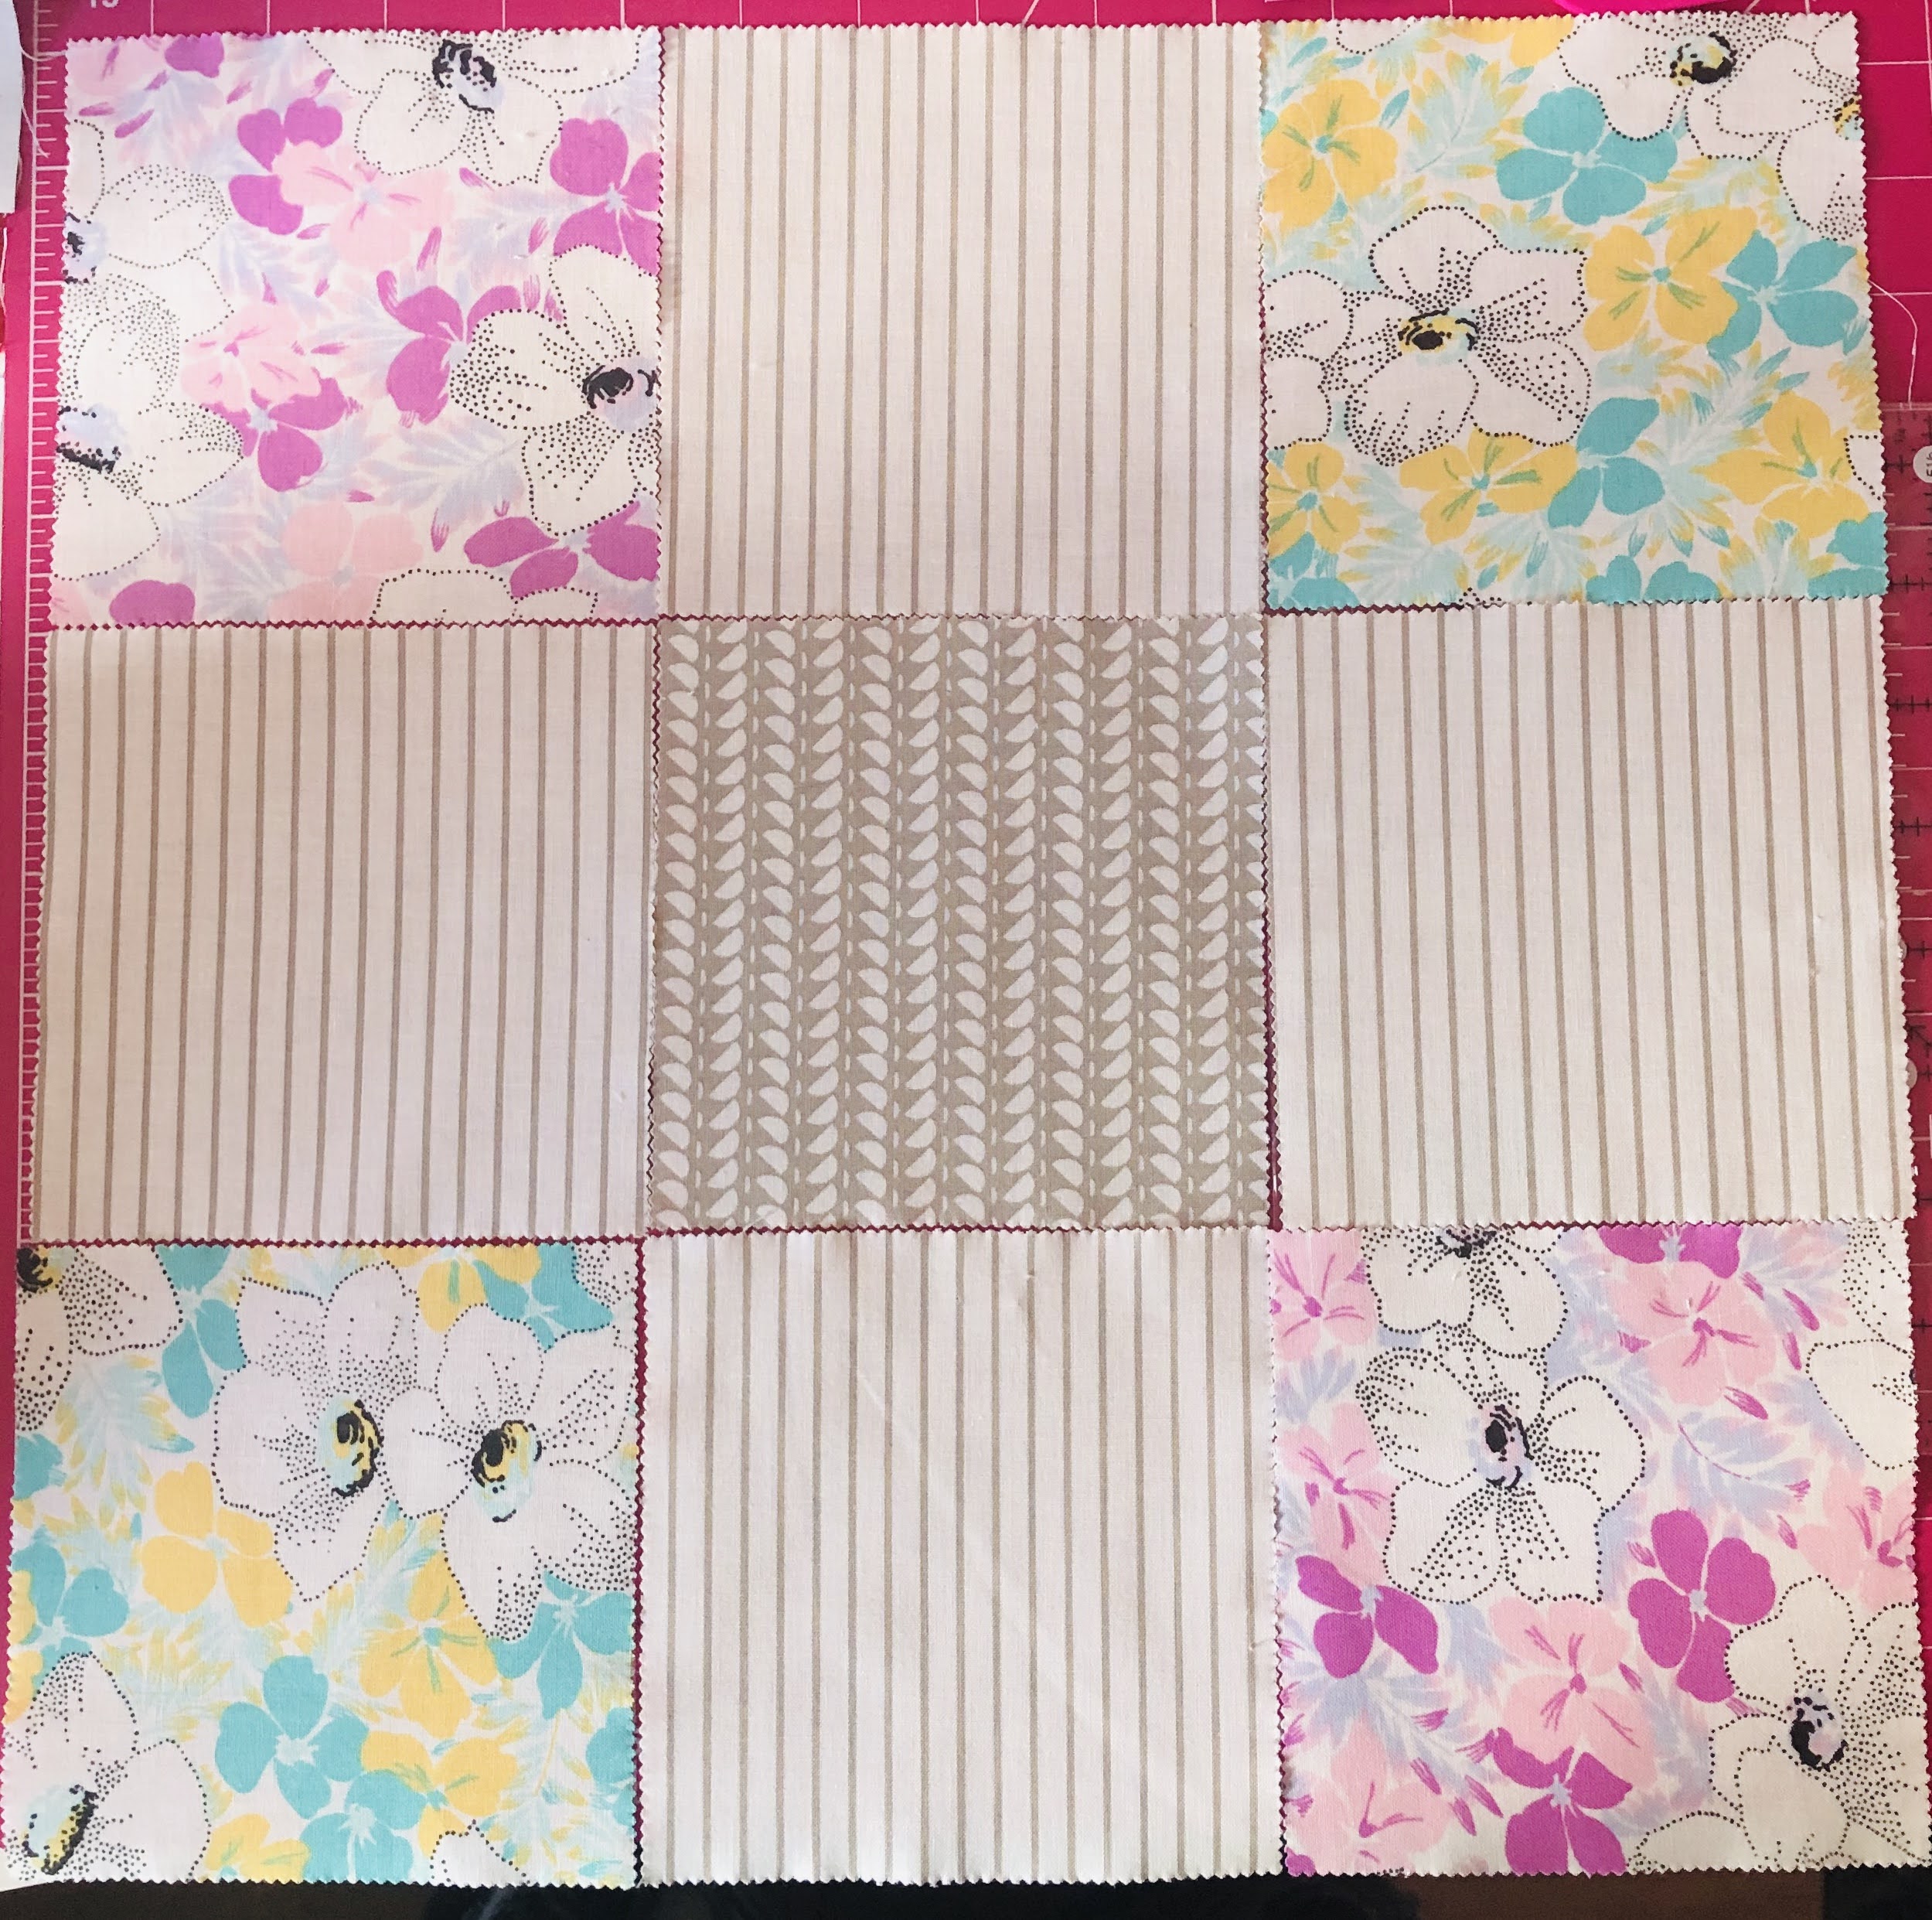
    Arrange the squares into three rows with three squares in each. Place the dark square in the block's centre position. Place the your feature fabric squares (medium) or those you wish to highlight in the block's four corners. Fill in the gaps with the remaining squares (light).


Assembly:


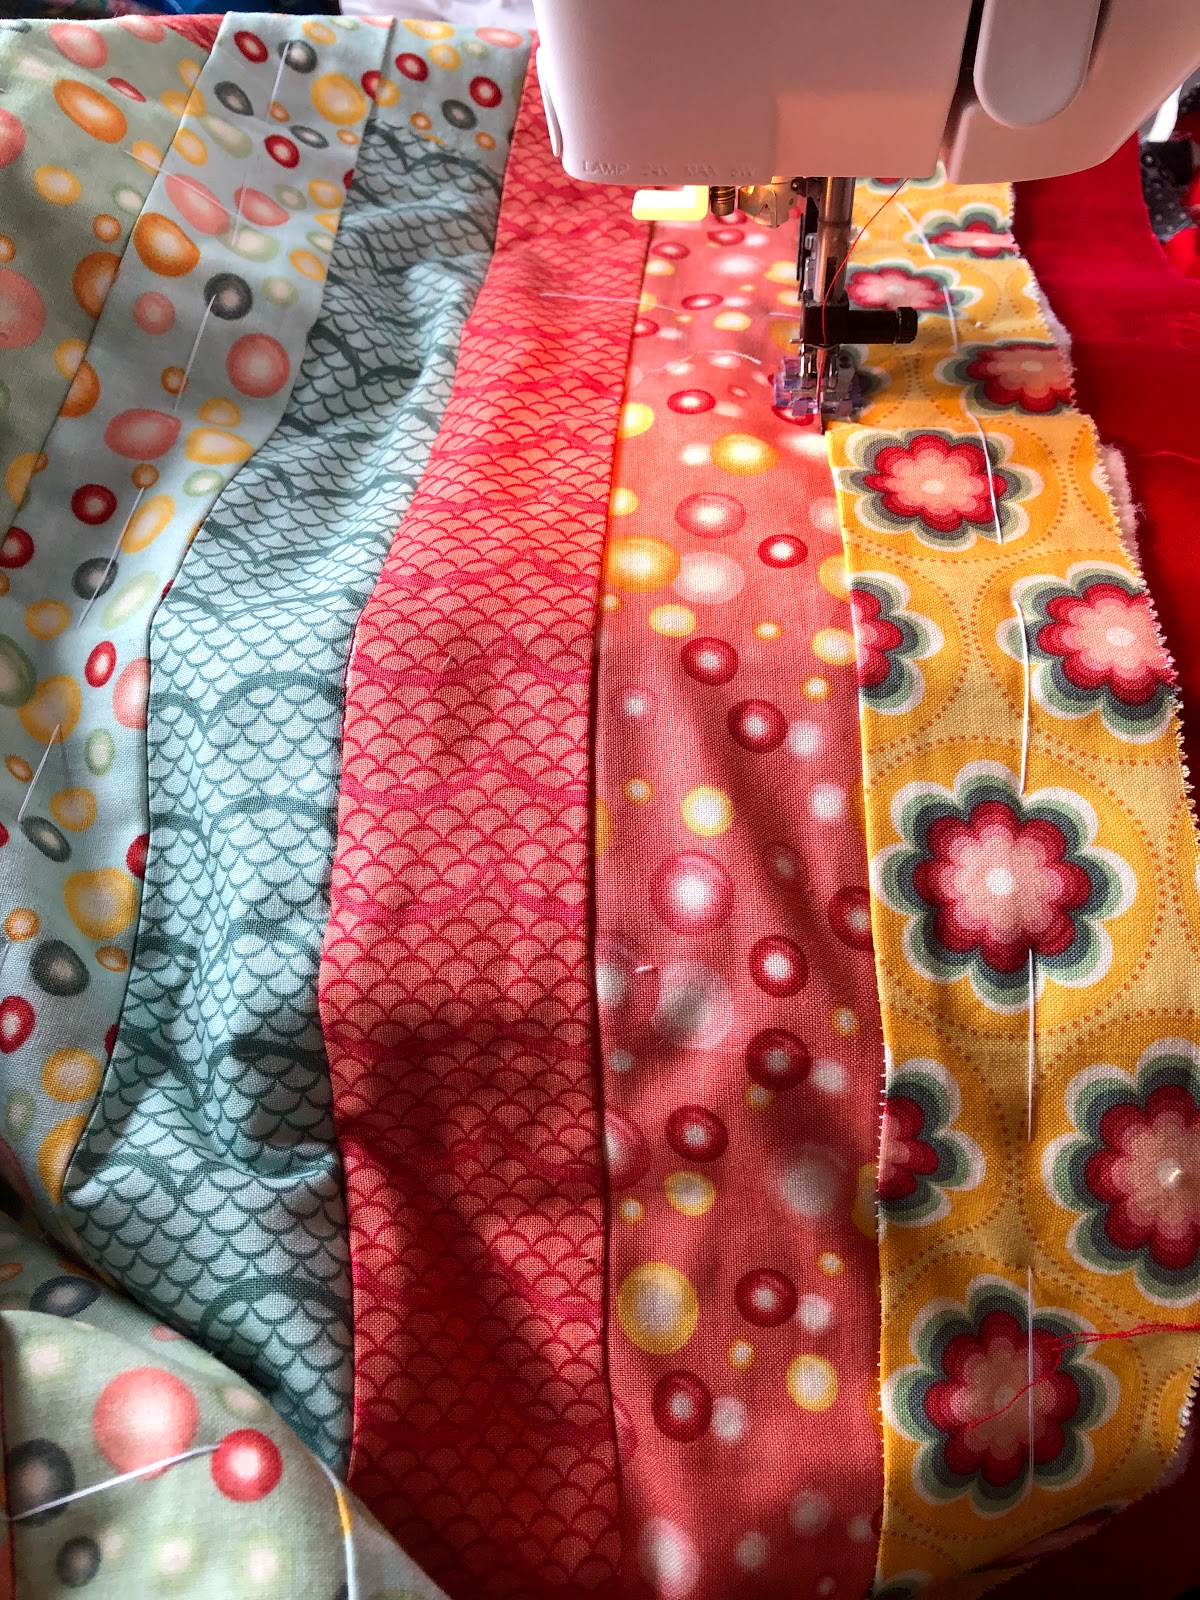
1. Sew the squares together using a quarter inch seam, I press my seams to the dark side, but you can do whatever you prefer, I also like to nest my seams so they lay flatter and line up perfectly.


2. If you are using 5" squares your block should measure 14" square when once the rows have been sewn together. You're then going to cut this in half vertically, so you have 2 units each measuring 7" x 14"


3. Cut each unit in half horizontally, so you have 4 units each measuring 7" square and then the fun begins.


Putting the block together:


1. There are a variety of different ways these blocks can go together, have fun and experiment to find a layout you like and then sew the rows together.


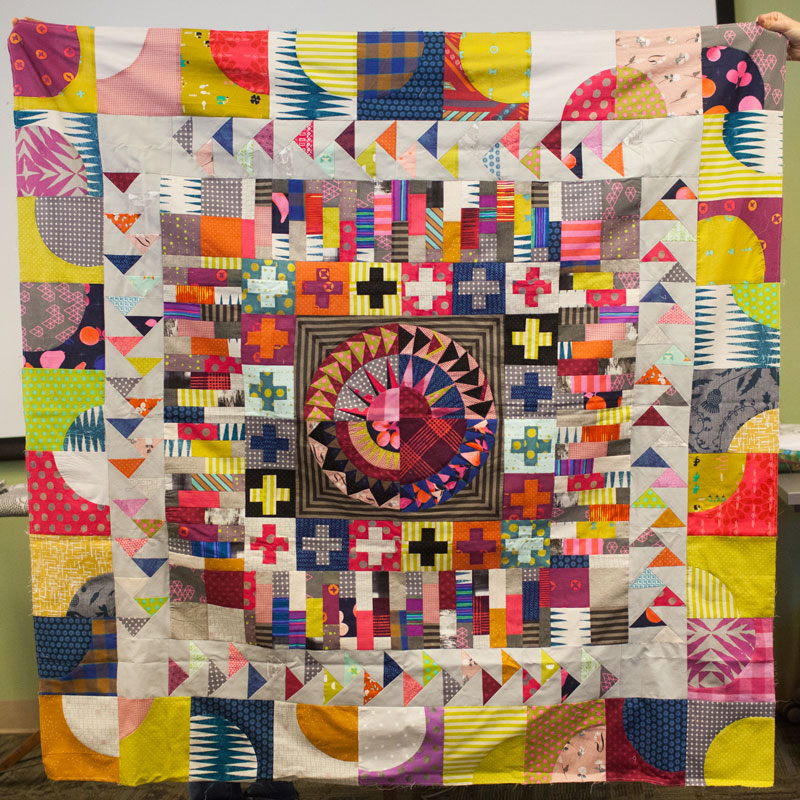
2. This is the one I went with, the feature fabrics will stand out more due to the borders around them, which is what I was after for this particular block.


Repeat to make as many blocks as you need for your quilt. I intend to have 4 rows of 4 so will need 16 blocks, this will give me a finished quilt of 54" square.

Monday, 4 November 2019

SEW THE RAINBOW!

Travelling Quilt Bee 2019


A couple of years ago I was lucky enough to be part of a Travelling Quilt Bee it was an amazing experience for me, I made some great 'virtual' quilt friends many of whom I am still in regular quilty contact with, as well as being a great opportunity to try new things and develop my skills. This was largely due to the fact that back then I wasn't overly brave when it came to fabric choices, colour palettes or block/pattern choices and had a real tendency to stick to what I knew and whilst I still do that to a large degree, I've found that being part of something like this where you're making part of a quilt for someone else to their specific requirements, is actually rather liberating!

There are so many gorgeous quilts that come up on my Instagram feed (@thatssewkerry if you are interested) that have been made as part of Quilt Bees, a Round Robin and Travelling Quilt Bees, such as these below: 


Related image


Related image


I really started to feel the calling again, having looked for inspiration and a group of like-minded people to join me, I set off on an adventure to create my own Travelling Quilt Bee - a daunting task as I've never been a quilt mama before or set up my own bee, but thankfully a well received plea meant that by the end of August I had 11 wonderful ladies set to join me for the next 12 months on a epic quilting adventure.

I wanted to try something completely different to the last one and to push myself out of my comfort zone, with this in mind I settled on 'Modern Rainbow' I wasn't sure what form this would take, but that's what I was aiming for. I'm not really modern when it comes to fabric choices or block choices so both of these together was definitely a challenge! I had bought the Aquamarina pattern quite a while ago, I take it out every now and again to look at and then put it away for 'oneday' so I decided this was the time. I had previously seen this version by Quiltmekiwi and just fell in love with everything about it, mostly because it is nothing like anything I've attempted before but also because it looks so clean, fresh and well modern!


With this as my inspiration I set off on my most favourite part of quilting - fabric buying! My intention was to source modern fabrics across the rainbow avoiding anything I would usually be drawn towards, I am very pleased with the end result although the same cannot be said for the bank balance or the husband.


One of the things I loved the most about this pattern was the fact that it is 90% foundation/paper pieced, which those of you who regularly follow my adventures on here will know is my most favourite type of quilt pattern, the other thing I loved about it is the giant New York Beauty element. With my rainbow set out and ready to go I had to decide on background fabrics, I knew I really wanted to include some kind of 'text print' - having said I'm not really modern in my fabric choices, I do have a slight obsession with low volume and text print in particular, but as for the rest I had no idea.


The rainbow fabrics are a mix of Alison Glass (all collections), Guicy Guice, Karen K Lewis and some Art Gallery thrown in for good measure and the background is More Paper by Zen Chic for Moda - one of my all time favourites that I really wished I'd bought several yards of instead of just the one (rookie mistake always buy at least 3 of the good ones!)I tested quite a few fabrics to use for the main background, again I wasn't really sure what I wanted to do with it, I had accidentally tried out Fairy Dust by Tula Pink from her Pinkerville range (another one I have several yards of) and as much as I didn't want to cut up my precious Tula, I couldn't seem to move away from it, so had to give in and take the plunge.


I really love the way the birds subtly pick out the colours around my rainbow and blend in rather than overpower it, I also fussy cut the same birds for the arrow heads trying to match each sections colour way so it all tied together - I really love the detail you can get in a quilt from fussy cutting.


A bazillion flying geese later I had the borders almost ready and set about fussy cutting some corner squares, again with the Fairy Dust birds to finish off the first border section.


It was then a super quick run to the finish with the outer border and my giant centre block/starting block was done and ready to travel for the next 12 months!

I am really pleased with how it turned out, there are a couple of mistakes that hopefully you won't notice (but I really do!) but I challenged myself and stuck to the original plan of trying something new and modern. It was very daunting and I can't say that I enjoyed the whole process but I did learn a great deal and I am happy with the progress I made in my own quilting journey. 

The hard part now is waiting to see what all the other lovely ladies make to go along with it and having to wait a whole year to get it back. The blocks went travelling on October 1st so we've already made one lot of blocks for the next person in our chain, but that is a tale for another day.


Happy Quilting
Kerry xx


Wednesday, 28 August 2019

X MARKS THE SPOT

Treasure Hunt 


Treasure Hunt Block Tutorial

12.5" finished block
This block is part of the great series by Blossom Hearts Quilts called The Bee Hive there are 12 blocks in the series, all completely free. The template for this block can be found here.


Cutting:
A1 and A4 2 1/4" x 9 1/2" 
A2 and A5 2 1/4" x 7"      
A3 and A6 2 1/4" x 4"

4 of each is needed to make one complete 12.5" block.


Assembly:

This block is put together in 4 units very simply by foundation paper piecing.

I found it easier to write on each section the colour/fabric I wanted to use there, as all quadrants were a different colour. This was so I could get the effect I wanted for my X to repeat making a secondary square design across the intended quilt.


The assembly process is the same for all 4 units.

Unit 1

1. Place one A1 rectangle right side up on the back of the paper template (you will be sewing along the printed lines so need to see these at all times), place one A2 rectangle on top of it so that the right sides, or patterned/coloured sides are facing each other.


2. Turn the template over so the guidelines are now facing you and sew down the line joining A1 to A2.


3. Carry on in this way until all strips have been sewn together.


You will then have a unit that looks like this.


4. Repeat for the remaining 3 units and then trim down any excess so that all units measure 6.5" square.


Putting The Block Together:

1. Place the units into pairs and attached together, then sew the two rows together to form one finished block. Simply remove the paper on completion of sewing.


Finished block will measure 12.5" square which includes a 1/4" seam on each side.


Tuesday, 20 August 2019

SCRAP BUSTING

No Scrap Left Behind


This is something I actually started quite a while ago, the center or main body of the quilt is a simple Jelly Roll quilt but is a very effective and rather quick way to rustle up a fairly decent sized quilt in a couple of hours.

You will need a full Jelly Roll, unroll it and layout all the pairs of colours/prints so you can easily see what you've got to work with. Then sew every strip end to end so you have one extremely long, continuous length of fabric measuring 2.5" wide. Fold in half along the 'short' edge and sew all the way down one long(very long) side. Cut the short edge open along the fold so you can now open out your sewn jelly roll and lay it flat - it should now measure 4.5" wide. Repeat until your have reached your desired quilt top size/width.


It's dawned on me as I'm writing this that more pictures probably would have been useful - so I'll try to get a tutorial up here soon.

But back to Scrappy business and those border blocks. They are based on the concept of 15 Minutes of Play a brilliant idea by the fabulous Victoria Findlay Wolfe, she actually has an entire blog dedicated to it. 


It really is a great concept that is quick an easy, the results are practically instantaneous - something I particularly like! The idea is you start with a 5 sided shape, the wonkier the better, and then you add to each side almost in a Log Cabin style, growing your block one scrap at a time.

The starting shape doesn't always have to have 5 sides, as you can see from mine they all varied and each one took on a life of its own. 


No scrap was left behind, no matter how small! I found that this made the shapes, fabrics and colours far more interesting and really highlighted the 'scrappiness' of them.


I made 44 blocks in total all measuring 6.5" square for the borders of this quilt, then sewed them together in strips - 2 with 10 blocks each and 2 with 12 blocks each and attached them to each side making a happy scrappy border.


I then had the monstrous task of attaching the binding and finishing it off by hand, I wouldn't go as far as saying I enjoyed it but there does reach a point with sewing binding that becomes quite therapeutic.

This quilt was a present for my Gramps who turned 80 on Sunday, the scrappy blocks were made from fabric used in every quilt I've ever made for our family members, so he always has a piece of us with him.

If you follow me on Instagram you'll see a few more pictures of this quilt, along with all the other things I'm currently working on.

Feel free to get in touch, it's always lovely to hear from you all.

Happy Quilting
Kerry xx

Friday, 20 October 2017

MODERN MAN SAMPLER

The Sequel...

Rather embarrassingly I started this quilt almost 2 years ago even though I had a set deadline life and many other things just got in the way and it sat on the side being ignored, you can see the beginning of the journey here but feeling newly motivated and with a new deadline for completion in mind, Modern Man Sampler currently looks like this 


This isn't anything like the final layout as I still have about another 17 blocks of varying sizes from 6" - 18" to go and I am also still in the process of trying to decided what these will be which isn't helping! Any ideas? The only criteria is that they are modern and manly, or traditional that can look manly!

My initial inspiration was London Calling by Quiet Play which I got off Craftsy, I actually have quite a few of her patterns because as regular readers will know I love foundation/paper piecing! The patterns are clearly marked and very easy to follow, a couple of the sections are a little bit fiddly due to the size of the pieces but the outcomes are always fantastic! My latest addition is the proud solider


I love how this turned out! He look so crisp and clean, I was a bit nervous about having so much white, but I think it makes the colors pop really well, although his face blends in a bit in the picture, it is actually Kona Flesh I've used and looks much better in person.

I also had some time yesterday to whip up a few 6" blocks from Don't Call Me Betsy's Epic Sampler I love these blocks so much, they all look good on their own or in groups or just altogether, she really is one of my true inspirations.


I found it a little bit tricky to try and get that Friendship Star to sit flat, you can see that it is still slightly wonky, I am hoping that some crafty pressing will sort it out, otherwise I shall have to rename it Wonky Star!

As well as getting my quilt mojo back in full force we've also been Wedding Fairing our little socks off! There is so much information and so much to take in, it's quite overwhelming! My favorite human has been brilliant, trailing behind carrying brochures, leaflets and business cards and ooooing and aaahhing in all the right places!! My top find of this weekend was a great florist who specializes in making rose gold foliage, as this is one of our main colors I can't tell you how thrilled I was find him, just have a look how gorgeous this is......


I've got a whole morning of quilting tomorrow with my quilt squad, looking forward to a good catch up and having a nose at all the amazing things they have been up to over the last month.

If you've been up to something wonderful you'd like to share, get in touch and I'll put it up. Alternatively if you are offering a fab BOM, Sampler or Pattern and would like to get that out there I'd be happy to help, I have so many people asking about new things to start or to test!

Happy Quilting
Kerry xx


Tuesday, 10 October 2017

STARTS AND FINISHES

An Animal Menagerie 


It feels like an age since I've had the time to sit down and share my thoughts and adventures, not for want of intention simply to much life going on! I've not been idol in fact far from it I seem to have quilts and ideas coming out my ears! 

I finished Grans Fancy Forest and thankfully it went down a treat, although the deliberate errors still really annoy me, Gran didn't mind them.


Not only has it made a great addition to the chair, but the spot has now been taken over for the very important task of story reading and general tomfoolery! 


There were many things I enjoyed about this pattern and some that didn't work so well for me, the pieces for some of the animals are very small and tricky to sew together however they do come together really quickly and the animals are all so different and really effective when put together. You can read the full story here if you missed it.

Clearly I'm a sucker for animals and a glutton for punishment because I just can't get enough of these Elizabeth Hartman patterns. My current adventure is the charming Lloyd and Lola


I started a couple of weeks ago making their faces, I find it easier to make all the same sections in one go rather than completing 1 animal at time before starting the other one, 


They were the smallest parts and the fiddliest, they also took the longest to put together but after that the bodies sprang up in a jiffy, I actually got both done in 1 afternoon when Tom was out and still managed to do 2 loads of washing and make diner. Totally got this wife in training stuff nailed!


Last but not least the legs went on and then the 'fun part' of quilting commenced. I've only just got that completed this week as we had our amazing 2 week holiday and then our engagement party and all the planning and carry on that goes with it, hence my slight delay in getting a new post up!


This is a bit of a secret project so there are parts of it that I can't reveal just yet but so far they are coming together nicely and the quilting has worked really well, I tried to be brave and go for the whole quilt approach a very basic diagonal line but still out of my comfort zone! Do you have a preference to design when whole quilting? Do you even do that? Let me know your preferred quilting method, I am always looking for new things to try out.


Speaking of new things...... these are a few I have got my eye on and am currently working out fabrics/ideas for


A mix of designs and ideas and totally different from what I would normally be drawn to, but I've always loved the idea of sampler quilts and those with a mix and match feel to them. I've never worked in these kinds of colors either so that in itself will be challenging!

If you've taken on any new challenges lately or would like to join me on mine I'd love to hear from you! Get in touch and lets make it happen!

Happy Quilting
Kerry xx