Showing posts with label Modern Quilt Bee. Show all posts

Wednesday, 1 April 2020

A MINI ADVENTURE

When I Met Tula! 

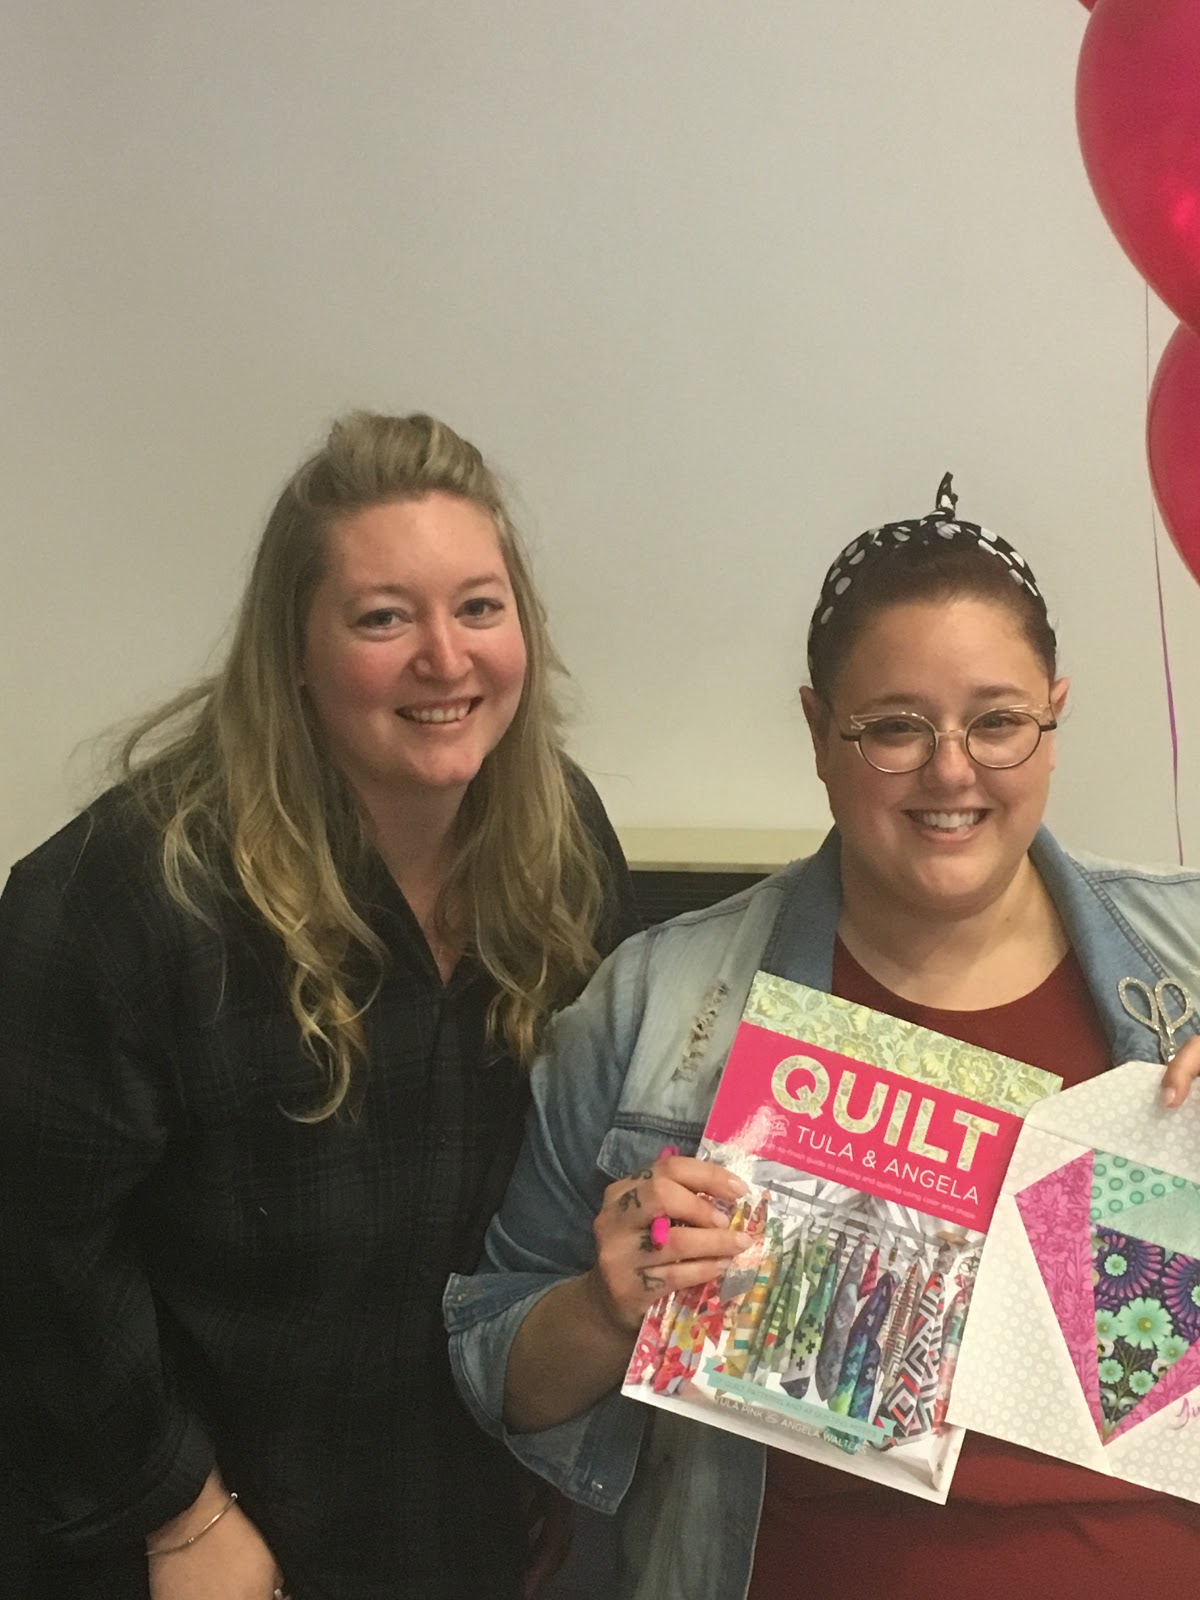
I don't think I ever told you about the time I met Tula Pink - major fan girl moment, I was really impressed with myself that I actually managed to get whole sentences out and they even made some sense!


There's always that worry that if you meet an idol or someone you greatly admire, they may not quite live up to expectations etc, but she really did! Tula was so kind and down to earth, she walked around the room before hand, talking to everyone, having a little sit down looking at the projects people had brought along, giving advice and just generally being lovely.


She then went on to give a brilliant lecture on how she started out in this business, what inspires her, her design process and thought process - the whole thing was wonderfully inspiring and a very insightful look at the fabric designing and manufacturing industry.

A couple of people asked questions about a fabrics 'life cycle', why certain fabrics are only made in seemingly small quantities and never reprinted, the responses I found quite fascinating as I've not got a great deal of experience in the manufacturing side of things. It certainly went a long way to explaining why the resale of some of her earlier lines is down right extortionate in some cases - I will add that this is through private sales and not something she can control.


What is the point of all this you are probably wondering? Not much, I simply adore Tula Pink and wanted to share my love of her fabric and creativity before I go on to show you a mini quilt I made for a Tula Swap. I found it rather difficult to cut into my Tula stash, especially knowing it was going to two other homes and not staying with me, but I got there in the end.


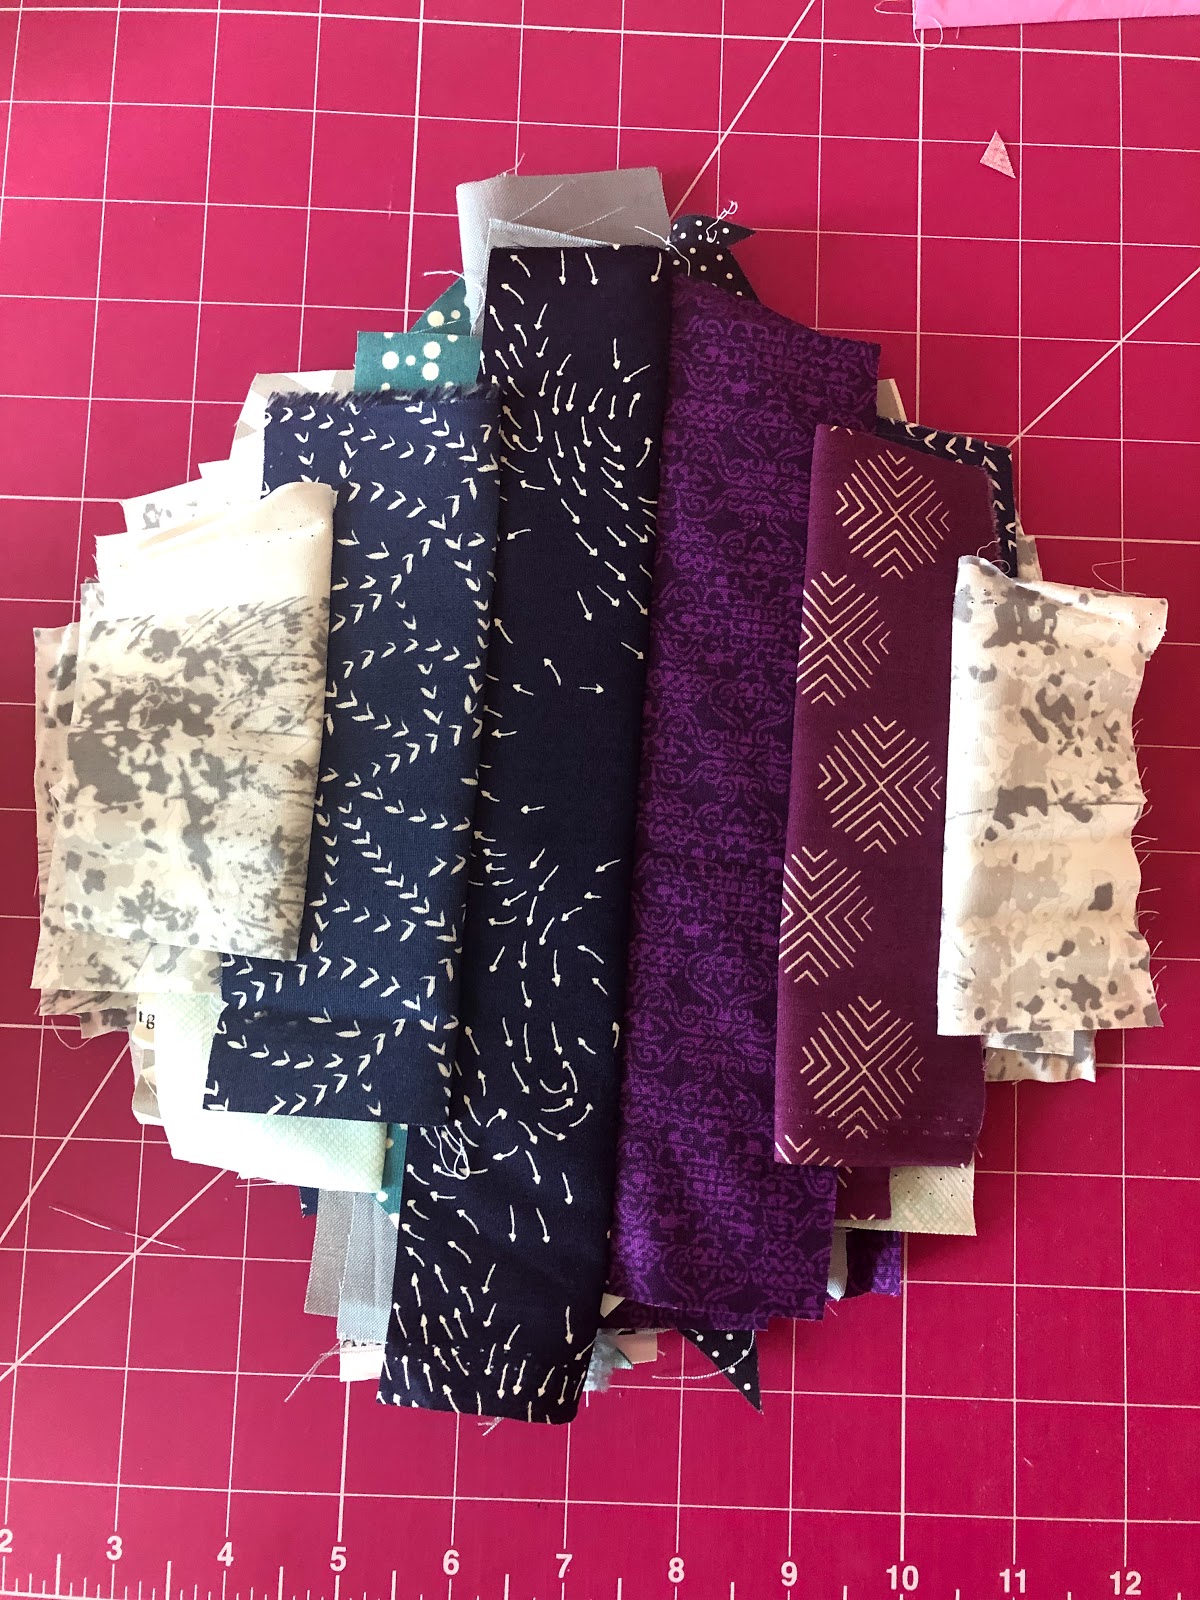
The only real request made from my swap partner was for the purple butterfly from the Eden collection to feature somewhere in the mini quilt, so with that as my starting point I set out a Tula colour wheel to see what jumped out at me. I knew I wanted a mix of prints and solids, but had no design in mind and opted for a more experimental approach of building the quilt as I went.


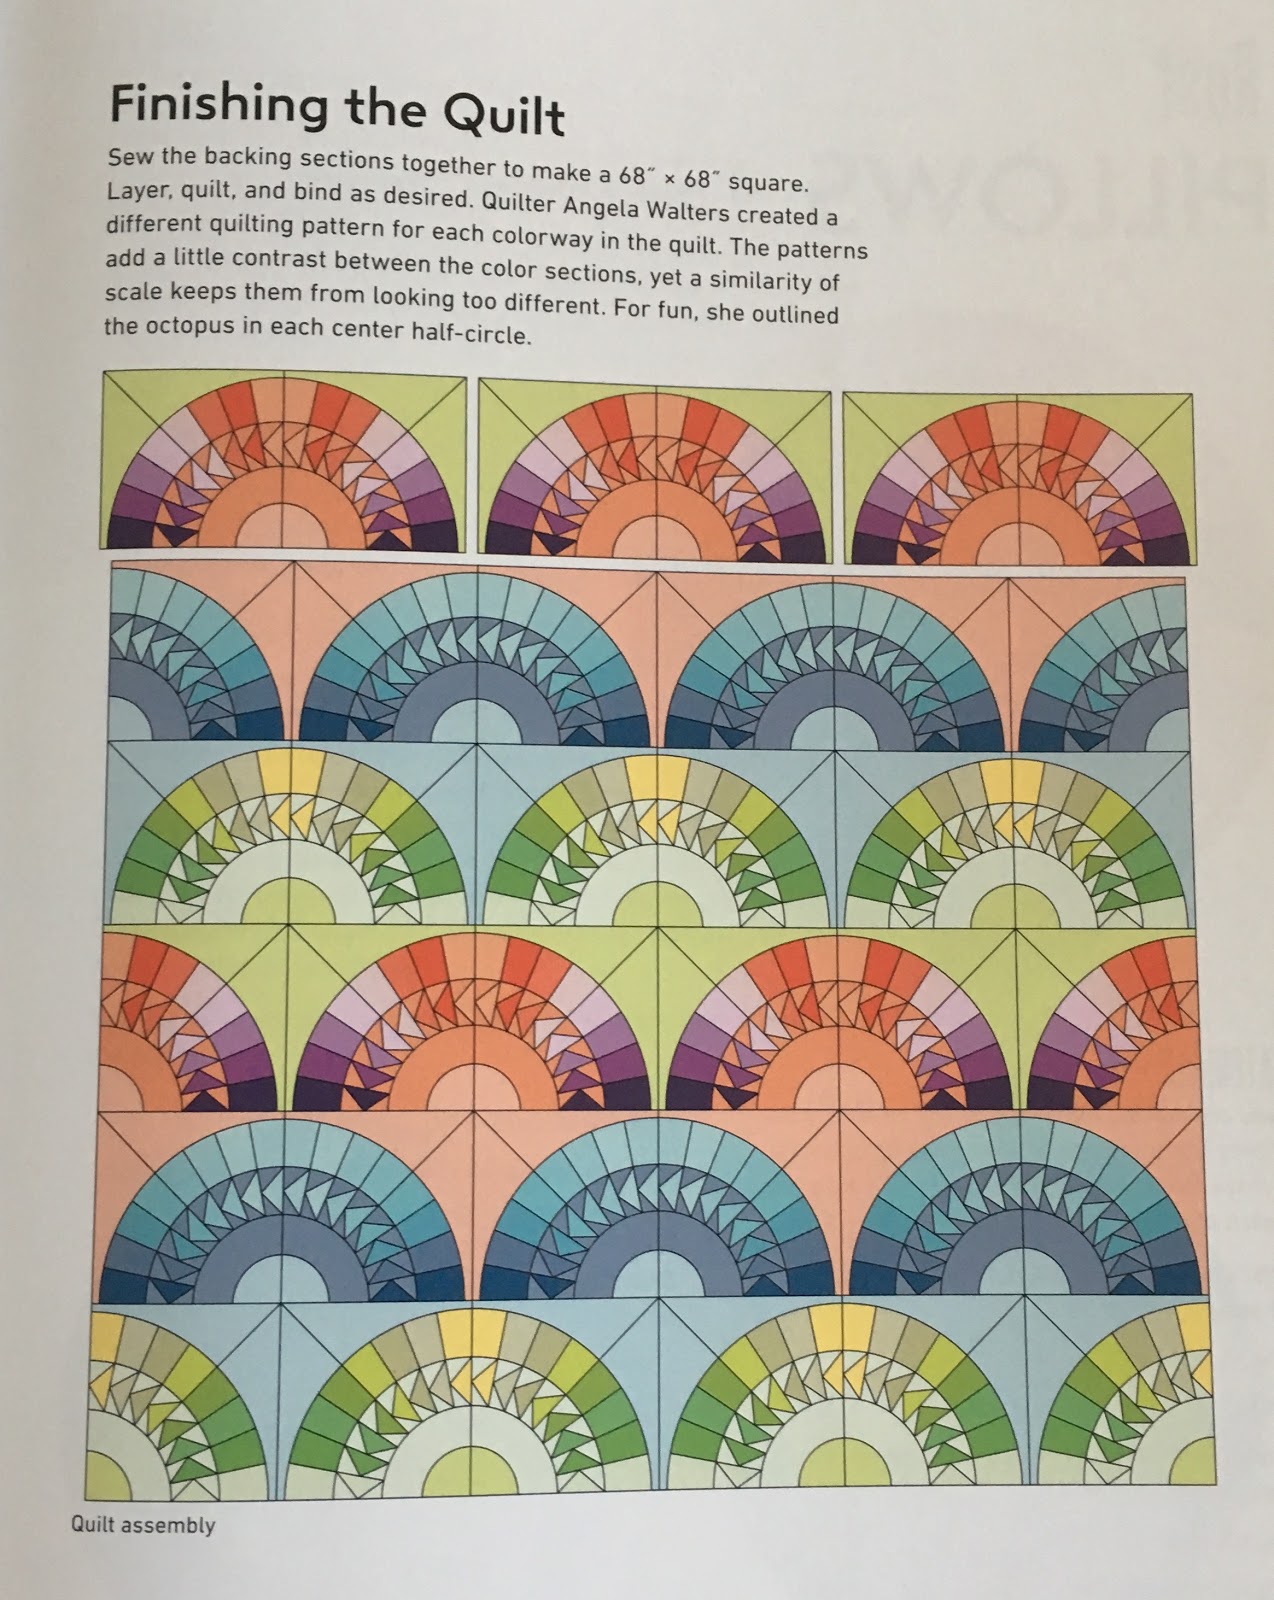
I had settled on some kind of New York Beauty and Flying Geese combo because I just love them and the endless possibilities there are when using the fabulous book, but that was it I didn't follow a specific pattern so they were both totally unique.


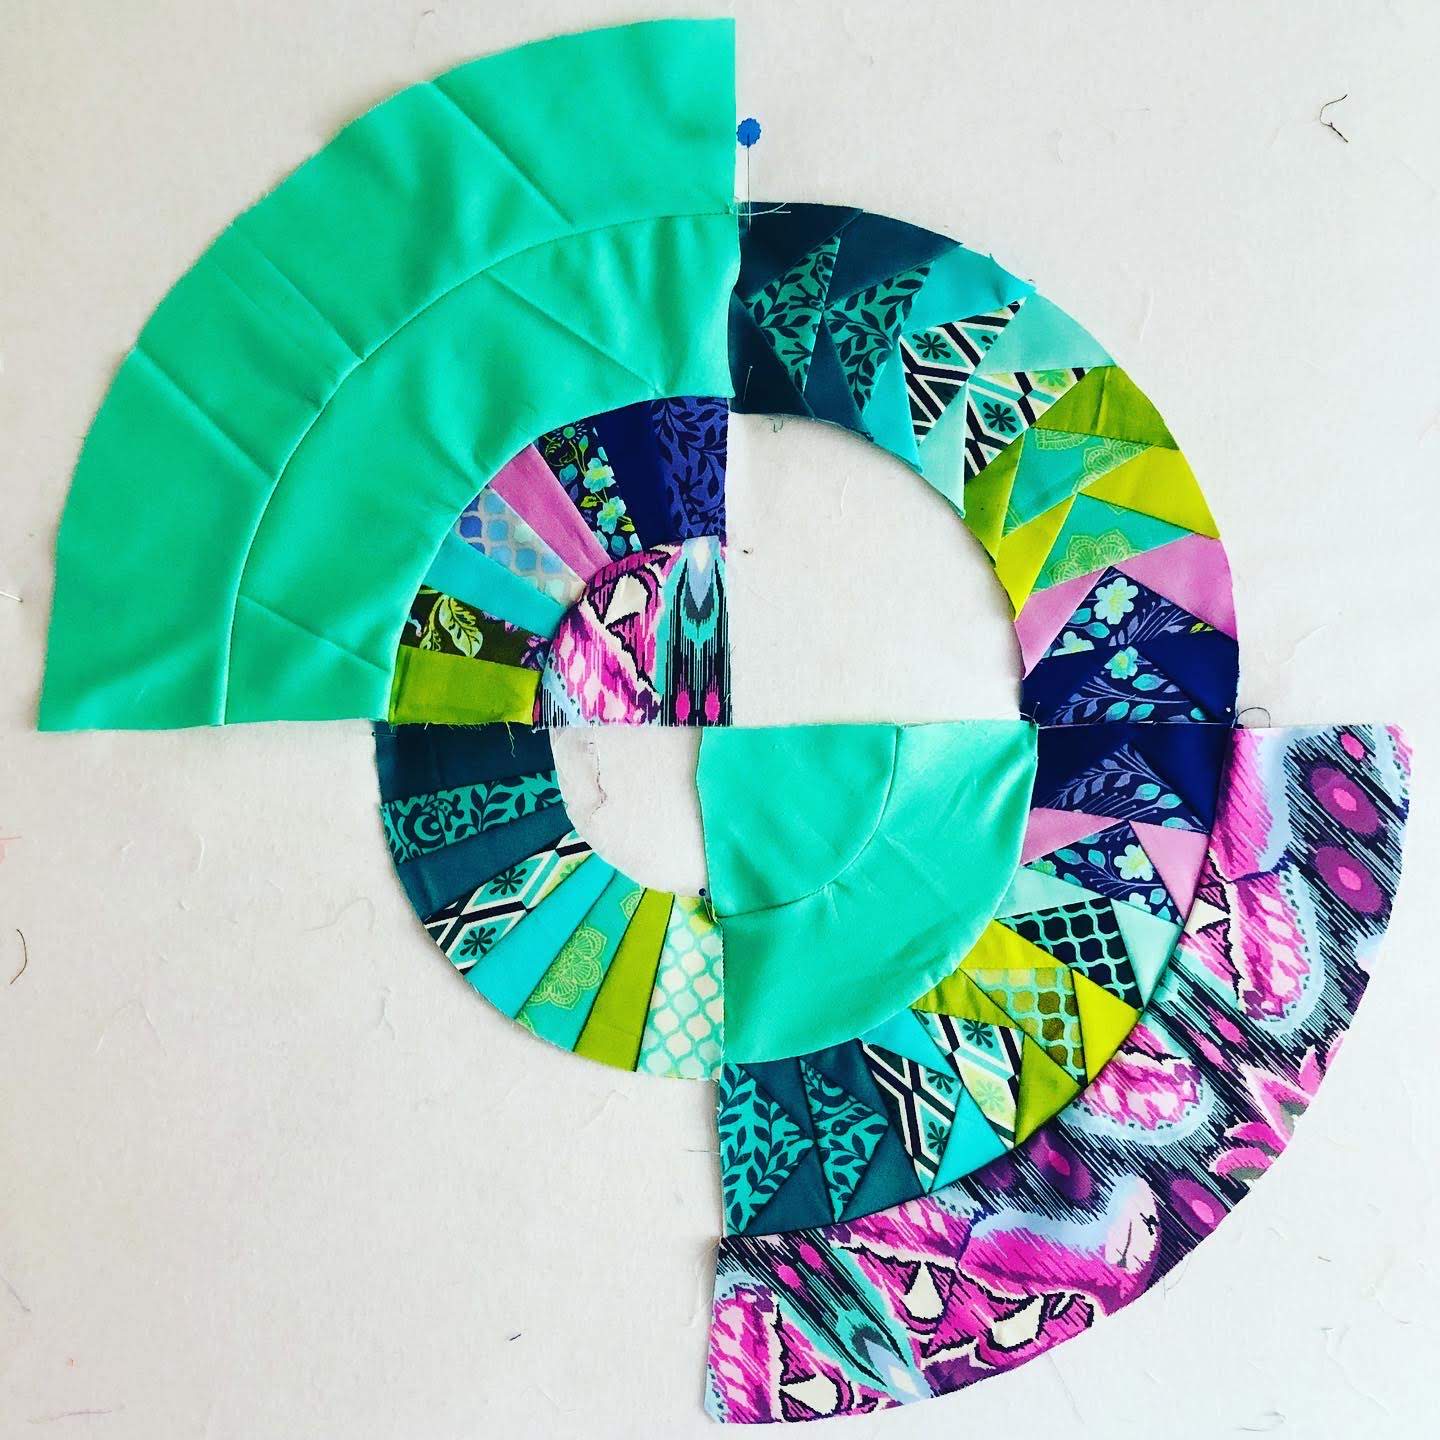
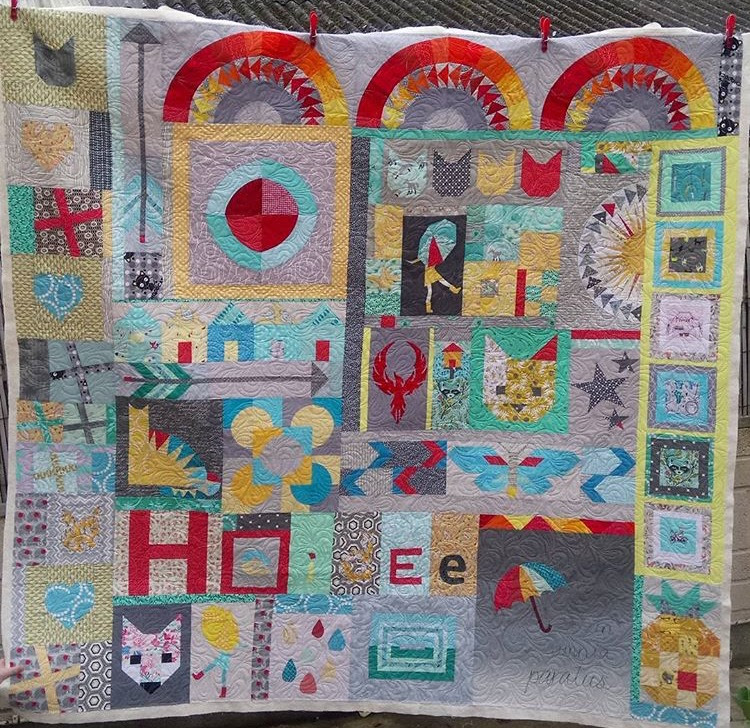
I played around with each section as I had only pinned them in place on my design wall - I often do this if I'm experimenting with a quilt design or playing with my own take on an existing pattern, rather than sewing it up and having to unpick it. When I am happy with a section and I know I won't be changing it then I go ahead and stitch it in place. 


I didn't want two totally identical mini quilts, so for the second I added in some fussy cut pattern matching. It was the first time I had tried it with facial features, it's not perfect if you look very closely but I'm happy with it for a first attempt and I can report that my partner who ended up with this one loved it.


There were so many patterns and varying prints to choose from that it did take a while for me to actually set this one in its final background, where I had used solids for most of the outer rings I wanted a striking print, eventually it was the lovely Deity elephant from Eden in Orchid that won. 


I really enjoy making mini quilts and have been in several mini swaps over the years, there is something quite satisfying about being able to make a quilt from start to finish is a day or a weekend depending on design, even if it is a mini one!

Happy Quilting
Kerry xx

Wednesday, 28 August 2019

X MARKS THE SPOT

Treasure Hunt 


Treasure Hunt Block Tutorial

12.5" finished block
This block is part of the great series by Blossom Hearts Quilts called The Bee Hive there are 12 blocks in the series, all completely free. The template for this block can be found here.


Cutting:
A1 and A4 2 1/4" x 9 1/2" 
A2 and A5 2 1/4" x 7"      
A3 and A6 2 1/4" x 4"

4 of each is needed to make one complete 12.5" block.


Assembly:

This block is put together in 4 units very simply by foundation paper piecing.

I found it easier to write on each section the colour/fabric I wanted to use there, as all quadrants were a different colour. This was so I could get the effect I wanted for my X to repeat making a secondary square design across the intended quilt.


The assembly process is the same for all 4 units.

Unit 1

1. Place one A1 rectangle right side up on the back of the paper template (you will be sewing along the printed lines so need to see these at all times), place one A2 rectangle on top of it so that the right sides, or patterned/coloured sides are facing each other.


2. Turn the template over so the guidelines are now facing you and sew down the line joining A1 to A2.


3. Carry on in this way until all strips have been sewn together.


You will then have a unit that looks like this.


4. Repeat for the remaining 3 units and then trim down any excess so that all units measure 6.5" square.


Putting The Block Together:

1. Place the units into pairs and attached together, then sew the two rows together to form one finished block. Simply remove the paper on completion of sewing.


Finished block will measure 12.5" square which includes a 1/4" seam on each side.


Friday, 27 October 2017

QUILT CLUB CATCH UP!

New York Beauties and Flying Geese


I've not really had the time to blog as much as I wanted to lately, but I've not been idol and now have a que of things just waiting to be shared, having recently been told off by Carrie for not blogging daily, I'm sure she'll be pleased!

I'm going to start with Saturday just gone and my monthly meet up with my favorite quilting gal pals! They never fail to amaze me with their creations and inspire me every month to want to do at least 4 more projects than I actually have time for!

First up Caroline, who we all agreed has totally gone mad, she recently tackled the 365 block a day challenge and has now got herself tangled up in the weekly block challenge of the gorgeous Etoiles Rouge put on by Green Avenue Quilts, featuring 49 variations of the traditional Ohio Star block.


Putting her own slant on it and making all her blocks in varying shades of blue and creams in a mix of great patterns.


Val was busy quilting the main panel of a bag she's been working on, she has been very brave with her color choices lately favoring bright and striking colors with more modern prints than she's usually drawn to.


Kerry has been working very hard on a baby quilt with a modern twist and finally was able to add the finishing touches! I love her choice of fabrics, not something I would initially go to for a baby quilt but so modern and fresh I think I'm a convert to purple, mustard and grey! We originally found the adorable print of hedgehogs and forestry at Sandown (I think?!) and then went on a mission to add to the selection! The pattern very simply strip quilting - jelly rolls are perfect for such a thing, or you can cut your own if you need them wider than 2.5", sew them end to end and a couple of times side to side and presto one fab quilt top in an afternoon! I think I need to pop up a tutorial on this, you won't believe how effective they are!


For the back Kerry stuck with a plain grey whole cloth approach but added some buzzy bees and a few letters from Spell It with Moda by using the applique method.


Carrie was adding the sashing to a special project we were all involved in making, she wanted to make a quilt for her mom it had to be relatively quick and straight forward to put together and ideally layer cake friendly as she had a stack of Blue Barn by Moda that was her inspiration. Enter the Layer Cake Sampler - a series of eye catching blocks that have a multitude of variations, and can be purchased from Material Girl Quilts.


We all made 4 blocks each, choosing which variations we wanted to use in order to help her get the quilt finished on time. She continued her efforts at home and the quilt top is looking lovely.


We started and finished our blocks for this quilt when we went on our first quilt retreat over the Summer, Kerry did a bang up job of finding us an amazing house with huge rooms, large tables for lots of quilting and a plethora of pubs! As well as these blocks, I was also working on my contribution for the UK Travelling Quilt Bee that month, if you haven't already you can read about the start of that journey here.

I had recently purchased New York Beauties and Flying Geese, published by C&T Publishing and written by the wonderfully inspiring Carl Hentsch from 3 Dog Design Co, described by Tula Pink as a book that 'asks the maker to see more than boundaries and categories, to think beyond the usual choices and to make something exceptional' and the author himself as a book that will allow you to 'create quilts that have standard building blocks of pieced arcs, plain arcs and fans that could be mixed and matched in a variety of ways' I was hooked from the very first page!


Although I really wanted to make every block and quilt in this book, I decided to start with Rust, 


I loved the size of the blocks and really thought they would lend themselves well to all the other blocks in the Bee I had to work with. Along with all the inspirational photos of the finished blocks and quilts in the book, there are fab 'drawings' of placements and how each one goes together, which make the whole process so clear and easy to follow.

Another one I love is Sorbet,


At the back of the book is the block index and all the templates you need to make everything in it, one of the reasons that this book is so amazing for me is the unlimited options there are for creating your own blocks as all the arcs etc fit together so you literally can mix and match to your hearts content.


If you are new to foundation/paper piecing don't be put off, there are very helpful and easy to follow instructions at the start of the book to get you on your way!


I chose to make my blocks for this Bee in bright yellows, oranges and reds - here they are sitting proudly at the top of this gorgeous quilt


If you have this book and have been working on some adventures of your own, I'd love to hear about them - get in touch in the usual way!

Happy Quilting
Kerry xx


Thursday, 3 August 2017

UK TRAVELLING QUILT BEE Part 1

An Epic Adventure!


If you are an avid Instagram fan/stalker like me you may have seen several amazing pictures and posts about Travelling Quilt Bees under #travellingquiltbee #travellingquilts and about 100 variations! These are just a few of my favorites....


The idea is not to dissimilar to a traditional bee but instead of having one month where you are the queen and everyone makes 1 block each for you and you receive them that month, you make a starter block send it off and don't see your quilt for a whole year!! Scary right??!  

You pick a theme, color palette, fabric choices or ideas, create a mood board or add any details you think will help the rest of the group understand your vision and put it all in a journal of some kind for each member to add to each month. Make your starter block or blocks and send it to the first person on the list - they are always the person you send to every month so you know who you are getting from and where it is going. In July of last year I joined a fab group of ladies on Instagram and we started our very own UK Travelling Quilt Bee.

I found this picture, it is Melissa from My Fabric Relish, version of the feathers from the beautiful Dream Catcher Quilt in Love Patchwork and Quilting issue 32, I fell in love with it immediately and just knew that my quilt would be centered around this image. I did some research, made some mood boards, started sourcing fabrics and got on my merry way....


As usual with me deciding which fabrics I wanted to start with took an absolute age to work out, eventually I settled on the below, a mixture of April Rhodes for Art Gallery, Moda and Kona Solids for my first feather and got to work.


I hadn't quite decided if I wanted to make the full Dream Catcher Quilt, just the feather section or just 1 or 2 feathers for the final quilt but decided that in the interest of time and getting my starter blocks ready to send I would just make a little bit of everything that I was thinking of and work out the actual layout/design at a later stage.


I added borders to the feather block in a solid burnt orange because I wanted to emphasize and enhance the prints I had used as well as making it clear to the other Bee members the color palette I was after. By this time I was strongly leaning towards an Atec/Tribal vibe for this quilt so expanded my research into these areas and added some Flying Geese blocks.


Love Patchwork and Quilting (I swear I am not being paid to advertise) had a freebie  last year called 50 Block Designs for 5" Charm Squares, I went through that and found this fab block made up of staggered Flying Geese which I added to the side. They sort of made me think of a row of a little tribal tepee village or maybe mountains and sunsets, either way I think they were a great addition and I was really happy with the outcome.


With both the blocks and the journal complete I said goodbye to my little quilt for a whole year and posted it on to the lovely Karen and eagerly stalked the postman until Abigail from Cut and Alter's quilt arrived as she was my first that I would be adding to. There is lot of ground to cover with this Travelling Quilt so I will be splitting it in to a couple of posts and I really hope you will come back to join me and read about the rest of the journey.

If you have been involved in a Travelling Quilt Bee, are currently in one or are looking to start/join one I would love to hear from you please feel free to leave a comment or email me.

Happy Quilting 
Kerry xx