Showing posts with label Quilted. Show all posts

Sunday, 27 December 2020

KEEPING DOLLY COZY

Quilted Sleeping Bag


Quilted Sleeping Bag Tutorial:

1.When your baby sister asks Santa for 'blankets for Dolly' you do what you can to help the big guy out! There are several ways this can be done, this is simply the way I made them and thought you may find it useful if you have small people who also want to keep their Dolly warm.


Cutting:

All squares are 2.5 inches the amount you need will vary depending on the dimensions of the doll you are making for. Dolly is 18 inches tall and is similar to the American Girl type dolls so the below is what I needed to accommodate her size and dimensions.

Front Panel
56 squares for top
Binding (1) 2.5" x 15"
Backing (1) 18" x 16"
Wadding (1) 18" x 16"

Back Panel
77 squares for top
Binding (1) 2.5" x 75"
Backing (1) 24" x 16"
Wadding (1) 24" x 16"


I wanted a scrappy look to mine so I raided my stash and found fabrics I knew the small person would like and would be appropriate for Dolly. You can literally use anything to make these.


Assembly:


1. Sew the squares together using a quarter inch seam, I alternate pressing my seams to the left or right for each row which makes it easier to nest my seams. You can use whichever method you prefer.


2. If you are using 2.5" squares and making the same size I am, your Front Panel should measure 16" x 14" once the rows (I did 7 rows by 8) have been sewn together. The Back Panel should measure 22" x 14" once the rows (I did 11 rows by 7) have been sewn together.
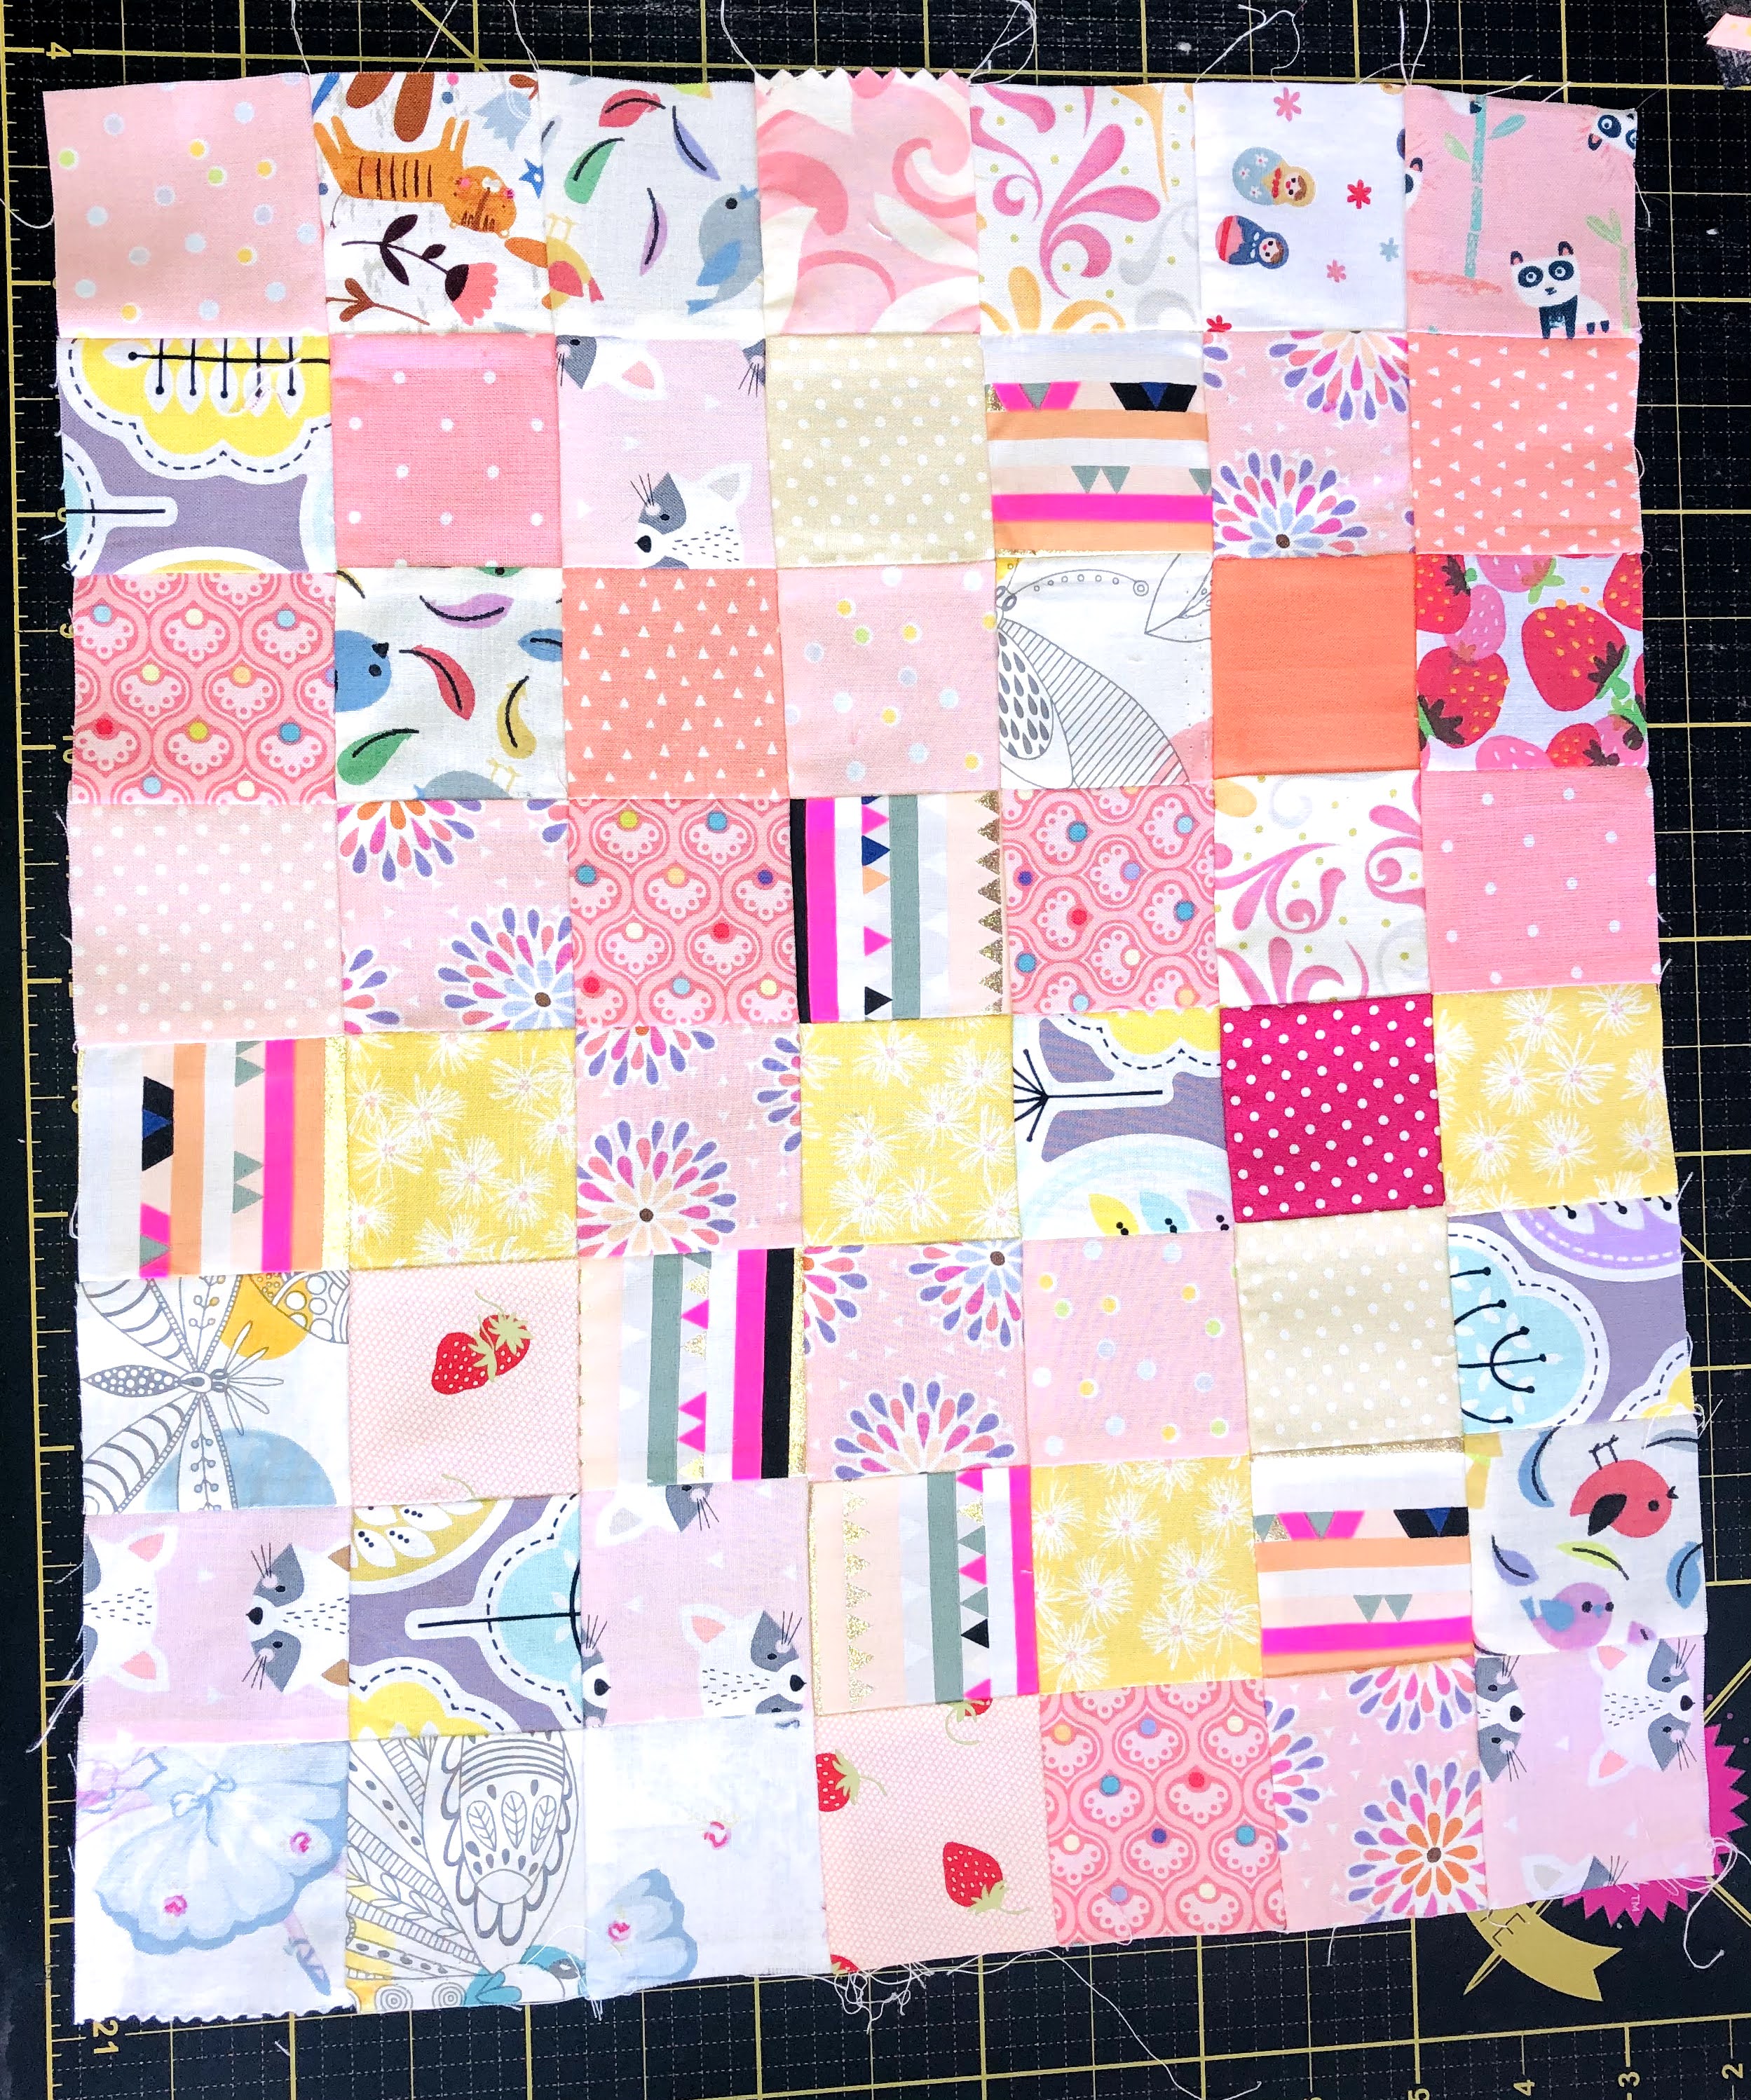


3. Layer the Front Panel with the wadding and backing and quilt as desired. Repeat for the Back Panel. 
Personally I use pins and NOT glue to baste as it gets stuck in the needle and machine parts - obviously use whichever method you prefer.


I kept my quilting simple by doing straight lines on either side of each seam line, keeping them 1/4 inch apart by using my 1/4 inch foot. There is a mini tutorial on this in my Instagram Guides.


4. Trim down the Front Panel to your desired finished size, for me this was 16" x 14", using the binding strip 2.5" x 15" bind one short edge of this panel leaving 1/2" hanging over each side.


Putting the sleeping bag together:


1. Trim down the Back Panel to your desired size, for me this was 22" x 14" and then place it right side DOWN so your patchwork/top will be against your worksurface. Place the Front Panel right side UP on top of the Back Panel.


2. Match up the bottom corners on both panels and pin in place. 


3. At this stage you can either sew an 1/8" stich line around the whole of the sleeping bag to hold the panels together and then bind as normal OR as I did, pin the panels in place and go straight to binding them together.

Both methods work in the same way, so it makes no difference how you finish off this step, it depends how confident you feel.


Repeat to make as many sleeping bags for Dolly as needed! 

If you need any help working out sizes or number of squares for a different doll, please get in touch and I'll do my best to help you.


Tuesday, 20 August 2019

SCRAP BUSTING

No Scrap Left Behind


This is something I actually started quite a while ago, the center or main body of the quilt is a simple Jelly Roll quilt but is a very effective and rather quick way to rustle up a fairly decent sized quilt in a couple of hours.

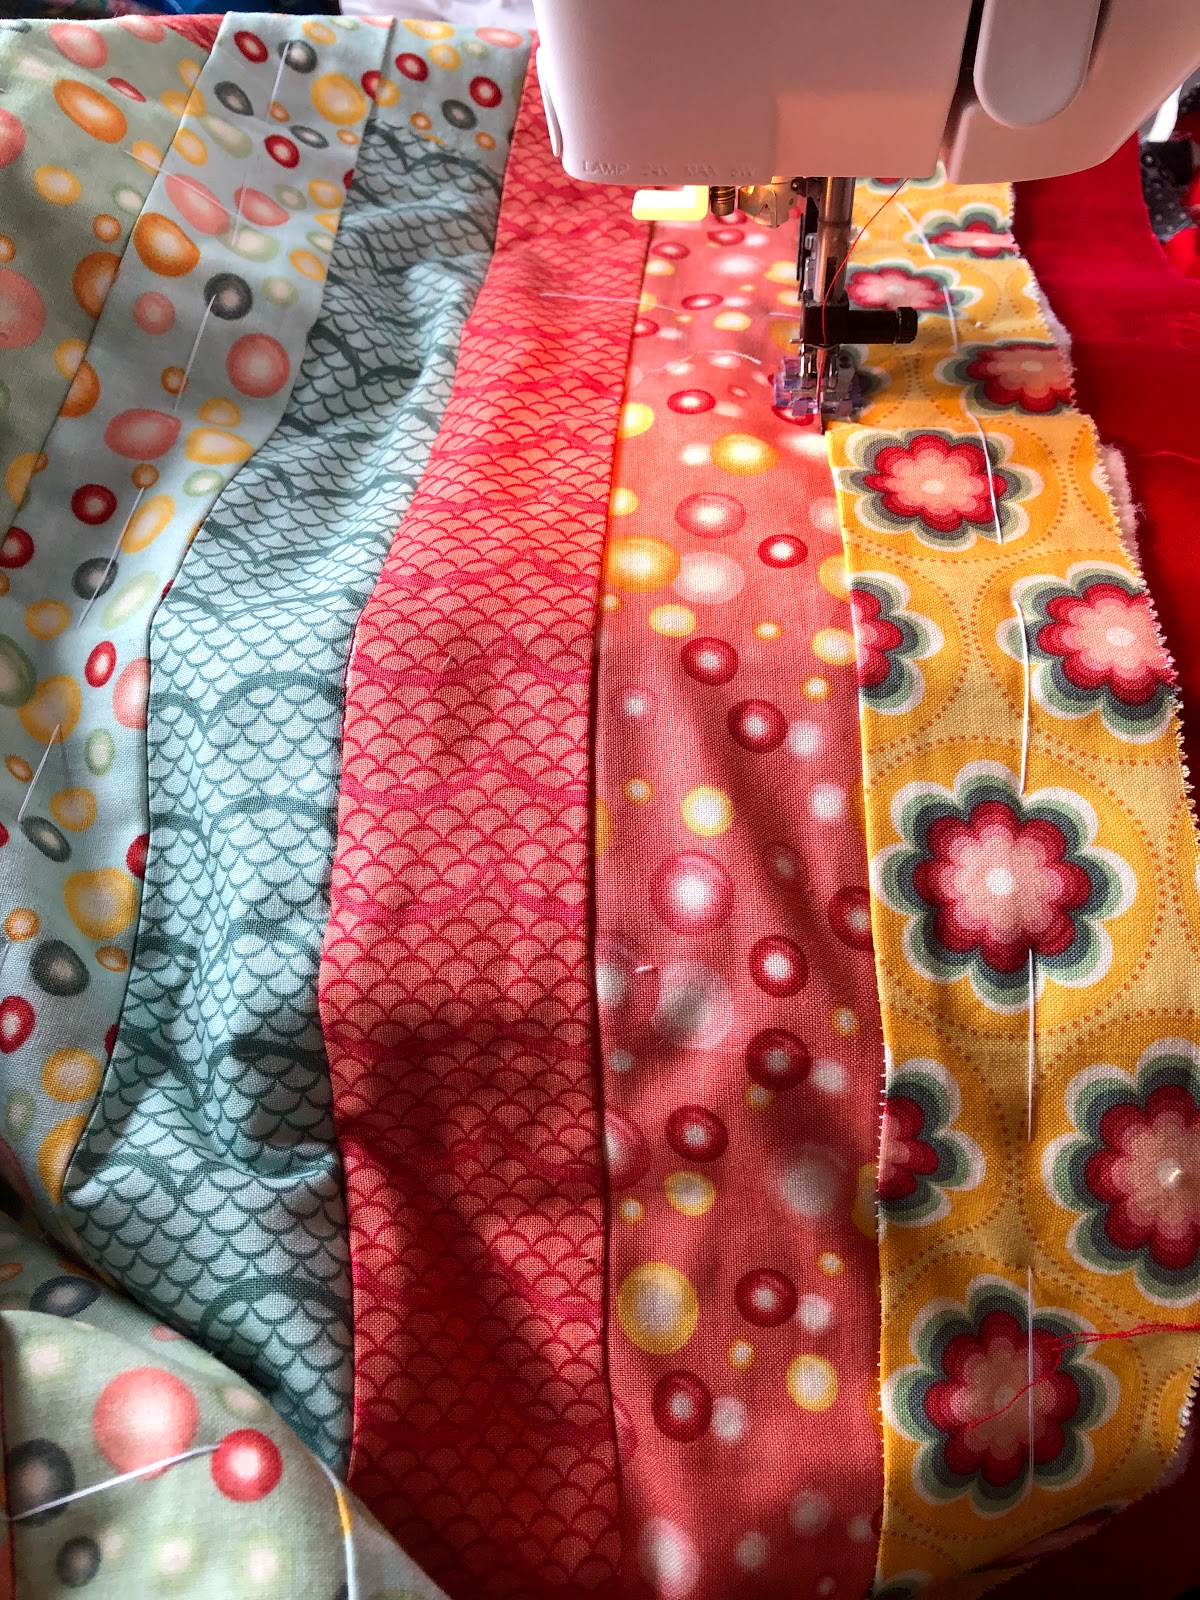
You will need a full Jelly Roll, unroll it and layout all the pairs of colours/prints so you can easily see what you've got to work with. Then sew every strip end to end so you have one extremely long, continuous length of fabric measuring 2.5" wide. Fold in half along the 'short' edge and sew all the way down one long(very long) side. Cut the short edge open along the fold so you can now open out your sewn jelly roll and lay it flat - it should now measure 4.5" wide. Repeat until your have reached your desired quilt top size/width.


It's dawned on me as I'm writing this that more pictures probably would have been useful - so I'll try to get a tutorial up here soon.

But back to Scrappy business and those border blocks. They are based on the concept of 15 Minutes of Play a brilliant idea by the fabulous Victoria Findlay Wolfe, she actually has an entire blog dedicated to it. 


It really is a great concept that is quick an easy, the results are practically instantaneous - something I particularly like! The idea is you start with a 5 sided shape, the wonkier the better, and then you add to each side almost in a Log Cabin style, growing your block one scrap at a time.

The starting shape doesn't always have to have 5 sides, as you can see from mine they all varied and each one took on a life of its own. 


No scrap was left behind, no matter how small! I found that this made the shapes, fabrics and colours far more interesting and really highlighted the 'scrappiness' of them.


I made 44 blocks in total all measuring 6.5" square for the borders of this quilt, then sewed them together in strips - 2 with 10 blocks each and 2 with 12 blocks each and attached them to each side making a happy scrappy border.


I then had the monstrous task of attaching the binding and finishing it off by hand, I wouldn't go as far as saying I enjoyed it but there does reach a point with sewing binding that becomes quite therapeutic.

This quilt was a present for my Gramps who turned 80 on Sunday, the scrappy blocks were made from fabric used in every quilt I've ever made for our family members, so he always has a piece of us with him.

If you follow me on Instagram you'll see a few more pictures of this quilt, along with all the other things I'm currently working on.

Feel free to get in touch, it's always lovely to hear from you all.

Happy Quilting
Kerry xx

Sunday, 27 March 2016

A JOURNEYS END

Signed, Sealed, Delivered


Almost a year ago I started out on an epic journey, the journey of my first commission!!(whhaaatt?? someone wants me to make them a quilt, for money??) I was rather apprehensive as up until now I had only ever made things that I wanted to, blocks or patterns that appealed to me in colours and fabrics that called to me. Most of them end up as presents for other people, but still if you're going to spend hours on something its got to spark your interest right?
Suddenly to be faced with a very specific criteria put me in a flat spin, it wasn't a style I would naturally be drawn to, nor was the colour palette something I had worked in before but you know me, I love a good challenge!! You can read about the start of my African Adventure here.

Having made a sprinting start with lots of ideas and creativity flowing it got to around August/September time and I totally stalled, it was so sunny and bright, love was blooming (swoon Mr Keeble) and I just had no motivation to sit in doors sewing bits of fabric in brown and muted shades together. The more I knew I had to do it and was running out of time, the less I seemed able to motivate myself to do. I got a bit tangled up with it all, tried out a few experimental blocks that really really didn't work, so with my motivation and now my confidence totally down the pan I stopped altogether. I had a month off where I didn't even look at it, and then started doing lots of research into all the other projects I had seen being done by the wonderful people I follow on Instagram (you can find me on there as thatssewkerry) and that 1 month suddenly became 3 months - more on that later. Now it's January and I've got less than 7 weeks to get this monster done and dusted....panic mode!! 

Having spent a huge amount of time researching all sorts of blocks, designs, quilts you name it really over the last few months I went back through it all and found this particular block called 'Capital T'. 


Originally 6" I scaled it up to be the 18" I needed and set to work finishing off the African Star. You can find out how I made this block by having a look at my new Tutorials button at the top of the home page or by clicking here. 


Originally I made 4 of these blocks, 1 cream, 1 tan and 2 red with the intention of having them alternating along the bottom row, rather irritatingly 4 turned out to be to wide and would have resulted in me having to cut them in a funny position in order to get them to fit and as such the repeat pattern would have been lost, but of course 3 wasn't wide enough to complete the row ggrrrrrr!!! So back to the old faithful 2.5" strips to fill up the extra space, not a total loss as it reflects the top row where a similar totally planned design feature had happened!! 


Due to the size of these blocks there were several large areas of empty space so I tried to be more adventurous with my quilting, mostly just echoing the shapes being quilted such as squares and triangles but still and adventurous step for me. 


One of my New years quilting resolutions was/is to be braver when quilting my blocks and to try to add in more quilting opportunities to the blocks or quilts I am choosing to make. It's a baby step I'll grant you but I'm proud all the same.

The next stage is slightly less exciting but with all the blocks now done they had to be joined together, I opted for my old favourite quilt-as-you-go method, although I do now have the machine space and the table space to attempt whole quilting projects it's still not something I feel brave enough to attempt. Plus I really like the idea of working on smaller bits and then suddenly having a huge quilt to put together, there's a real sense of achievement in that somewhere for me - usually mixed in with a whole lot of madness.


Blocks become rows and then rows become quilts, soon there after there is a flourish of furious hand stitching to get all the back bindings attached and all those raw edges covered, all the while a lot of swearing and stabbed fingers is going on - I've never been able to get on with a thimble! Finally arriving at that very satisfying moment when that last stitch goes in and months and months of work turn into this......


Thank you to everyone who has offered me there thoughts, opinions, ideas and just general support throughout this epic adventure, it really means very much to me and I don't think I would have believed in myself enough to get it done without you all. Lets start the next one......

Happy Quilting
Kerry xx


Monday, 18 January 2016

CATCHING UP

Saturday Inspirations


I can't believe that we are into the third full week of the year already, and that I'm failing miserably with at least half of my New Year resolutions (sigh). We only have 23 sleeps until our first holiday, instead of losing 2 lbs a week I'm fairly sure I've put them on, I wasn't even looking at anything new until I had finished all my UFOs and existing commitments yet it would appear that I've accidentally on purpose signed up for 2 BOMs, but so far so good with updating the blog once a week so not a total loss.

This Saturday saw our first group meet up of the year, it was jam packed full of exciting news, lots of show and tell, oooohs and aaaahs over all our new purchases and of course an abundance of wonderful quilting.

First up is Val with this gorgeous quilt in a selection of Lynette Anderson fabrics, the design itself is very simple in its layout but works really well at showcasing the beautiful fabrics.


There were mixed feelings as to whether or not the pattern Val chose to have quilted, got lost in the overall design of the quilt and the fabric placement. We all thought it looked lovely, but I do understand that the idea or picture you have in your head of something doesn't always reflect the finished product in its physical form.


Caroline is still working on her amazing Bargello Quilt, you can find all the details about it here in one of my previous posts. 


Carrie has developed a taste for Pin Wheels and can knock them out at lightening speed, something I am very jealous of because they appear to be a process I just can not get my head around. Try as I might they never turn out right, my points get lost, they aren't matching in size honestly I give up with them, but Carrie has it mastered and they are gorgeous.


Although she is working on building up her stash of Pin Wheels it wasn't her task on Saturday. This week saw the return of one of our old favourites Saturday Stars, a class we all took together and where we all became friends, although most of us are nowhere near finished the mammoth quilt itself. It is a class that was put on at the Quilt Room in Dorking, although no longer running you can find the details of all their other workshops here. Like many people Carrie has a particular fondness for Moda fabrics which is reflected throughout this quilt.


Next up we've got Sue, who has been working on this amazing quilt called Stonefields by Susan Smith, originally a commission for a film it is made up of 121 different 6 inch blocks finishing 96" x 96" with a flying geese and hexagon border.


As far as I am aware this quilt is only available as BOM, if anyone knows if it can be purchased as a whole I'd love to know!! Sue purchased hers through The Running Chicken however it is no longer running. Sue has put some serious hours into this quilt so far and it really is a sight to behold....


Finally we turn to the efforts of Kerry Q, who has multiple projects on the go, as well as all her wedding planning (whoop whoop) I'm amazed she has the time to fit it all in. Kerry is working on a secret project for someone special using a mix of Cycles of Life by Maywood Studio and a selection of old shirts, so far her efforts look like this 


Kerry has also been working on restoring some little hexies she found with some things that belonged to her Nana, she's also been adding new bits to them and is thinking about making a cushion or two.


I have been working on some English Paper Piecing and hopefully I can share that with you later this week. 

Happy Quilting
Kerry xx


Tuesday, 27 October 2015

MINI QUILT SWAP

Getting Back Into The Swing

All the way back in July I signed up to be apart of the The Easy Swap UK, that Nina over on BossyOz was hosting. The rules were fairly simple make whichever of the following you feel most comfortable with: Mini Quilt - 300 to 500 square inches, any shape
Zippered Pouch - any design but one zip must be at least 12"long or Tote Bag - to fit at least an A4 note book and to have at least one pocket. We had to fill in a questionnaire about colours, fabrics and designs we liked or were inspired by and things we would like avoided and then given a partner to make for.

The details of my partner at this stage I can't reveal because although I have received my wonderful mini quilt, I'm not yet sure my partner has hers. However I can tell you the guidelines I was given to work from: colours aqua, teal, low volume and purple, quilt blocks traditional (in modern fabrics), modern and/or paper pieced (foundation paper), to make them happy, please avoid sludgy colours, browns etc, batiks, civil war repros. Again all things I love and could absolutely pull off, in the form of a mini quilt.


This was my fabric selection for the mini, mostly bold Kono Solids as they best lent themselves to the Don't Call Me Betsy design I had chosen to make and casually threw in some modern funky prints just to mix it up a bit. 
I have to say I didn't get off to a great start with this one, the first part which just so happens to be the middle section had me at a total loss when trying to get the last bit in!! 


I when slightly off track and had to make some small adjustments to the pattern, but when it was all put together thankfully it couldn't be seen and made no difference to the overall design. After that it was plain sailing all the way, I know I am totally biased because paper piecing is just my most favourite thing, but having now tested out several of Elizabeth's patterns I honestly can not recommend them enough. The instructions are very clear and easy to follow, overall the designs come together quickly, there is so much scope to experiment with fabrics and the results are breathtaking.


There were a lot of different little sections that needed to come together, so like with many blocks the most time consuming aspect was cutting up all the squares and triangles, thankfully though with paper piecing accuracy of cutting is not essential!! 


Originally the design had an orange and yellow star burst effect exploding from the middle, however as I was not using either of those colours I amended the fabric and colour placement to make it slightly more modern....well in my opinion anyway.


As a large block all the sections came together rather quickly and thankfully near enough all my points and seems matched up beautifully, if you're a regular reader you will know that I often struggle with matching up my points but that steady progress is being made. With the top all complete and measuring 24" squared, all that was left to do was back it, quilt it and bind it.


I absolutely loved making this mini quilt, the block has fast become one of my favourites and I will definitely be making it again, I have become a little bit obsessed (don't roll your eyes) with Medallion Quilts and this block might just become the centre of something I am planning. 
As I said at the start of this post my mini arrived today from the person who was given me and what a fabulous job she did!! My most favourite colours Mint, Coral and Grey in my most favourite designer fabrics Tula Pink. 


If you have been part of a this mini swap or another I would love to hear from you and see what you made and/or received.

Happy Quilting
Kerry xx

P.S In case you were curious everything is going wonderfully with my Special (squeal)